7 ways to hide pipes in the bathroom
When redevelopment or major bathroom repair many have an irresistible desire make communications less visible. This is quite natural, because thin pipes running on almost every wall can cause deep irritation. Needless to say how much they can to spoil even dear and modern interior? To make a room more aesthetic and neat, of course, is possible, but it is necessary to approach the work process wisely. So that you don’t have any questions after reading this article, we will consider in detail what types of pipes can be used in the bathroom, regulations them disguises and most used ways to hide pipes In bathroom.
1. Types of pipes and their purpose
Material quality of which are made plumbing or sewer pipesdirectly affects their strength reliability and wear resistance. Not all types of pipes can be used, for example, for hot water, or for heating radiatorif there is one in the bathroom. All variety of pipes can be divided into three categories:
Metal pipes
Which, in turn, share on the two kinds:
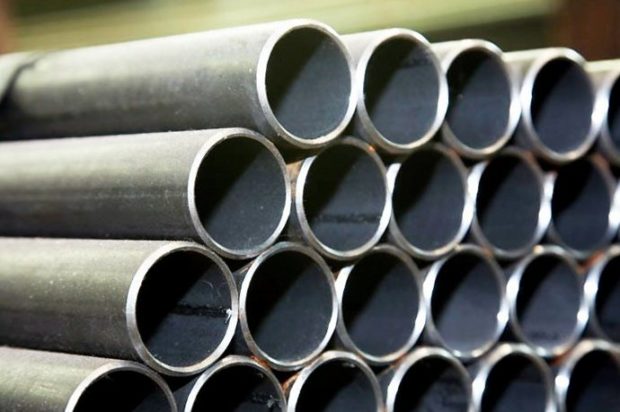
- Steel - are still in great demand among consumers due to their strength and high thermal conductivity. In addition, they are able to withstand pressure drops of up to 16 bar. Resilient to destruction and stable at temperatures up to 120 ° C. Stainless steel does not emit harmful substances in contact with water and is completely safe for human health. Differ relativelyeasy installation and a simple welding method. They also have a pretty attractive appearance. Their only disadvantage - high cost of material.

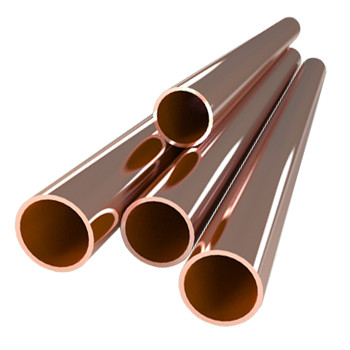
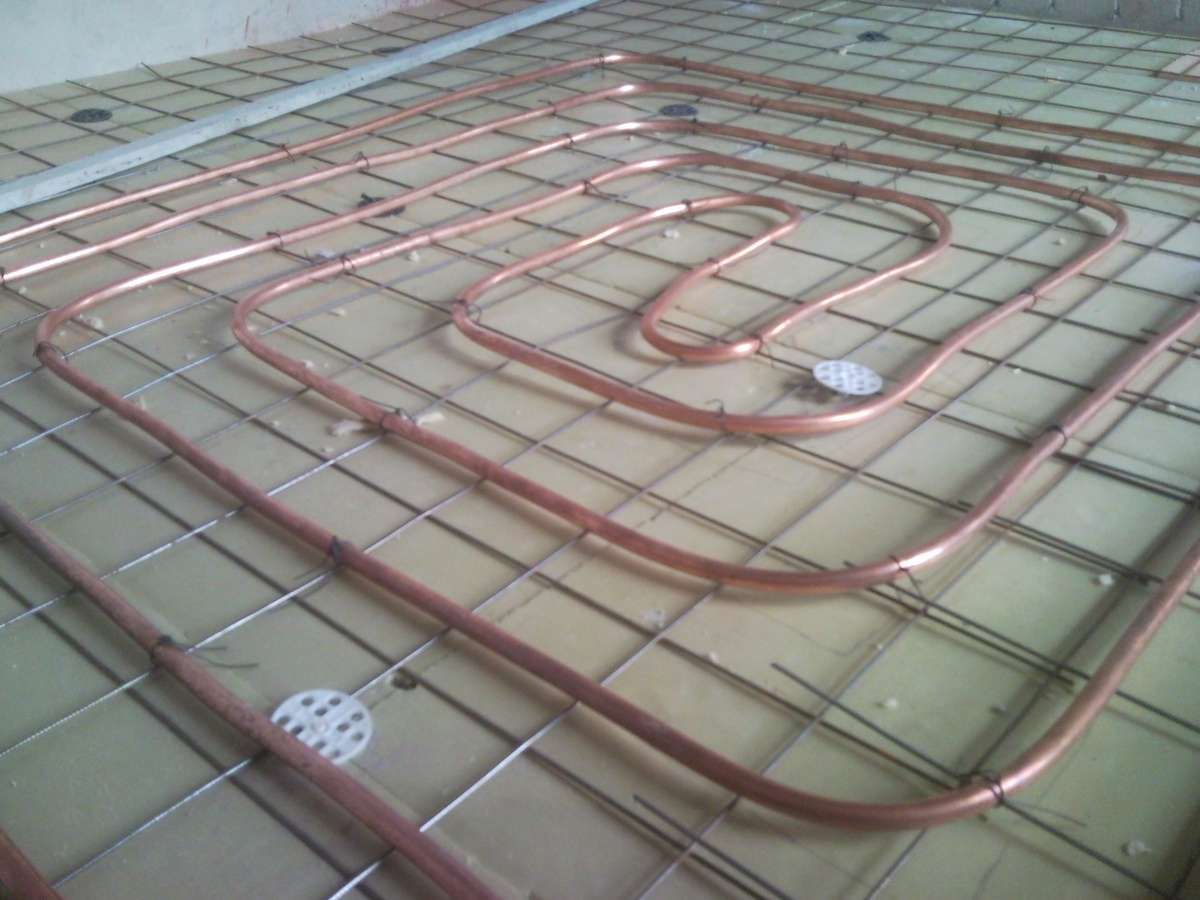
- Copper - have a very good specifications long service life, practical, safe for health and even have antibacterial effects. Resistant to aggressive chemicals and have high throughput due to the fact that their inner surface always remains perfectly smooth. They are easy to bend and easy to mount. However, their cost pretty high. But the use of this material is almost completely excludes opportunity leaks or rupture of the water supply under the influence of strong pressure. They can be used for water supply and heating.

Plastic
Exist three varieties of this product:
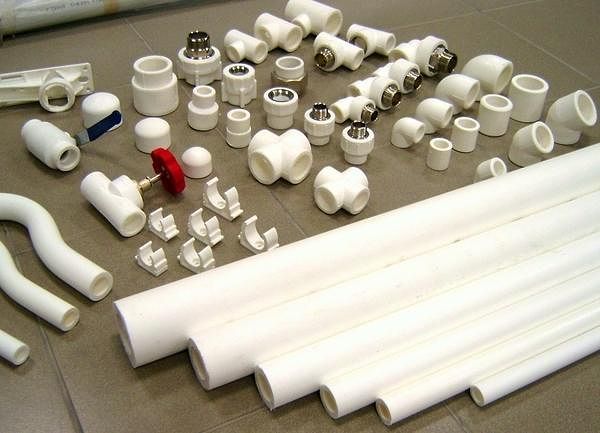
- Polypropylene - the most reliable and durable in its category. Their service life is approximately 50 years. They are able to withstand high temperatures, up to 100 ° C and have good thermal conductivity. The material is dielectric and provides good sound insulation. They are a great option for apartments. The only moment that should be considered, - this is because the material has a high coefficient of linear expansion, and in case of poor soldering, an obstacle to water flow may occur.
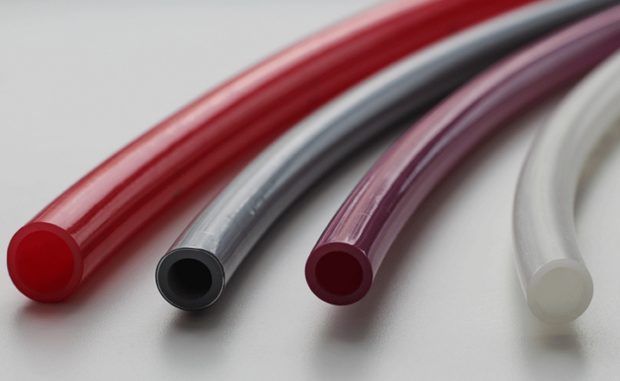
- Polyethylene - the most elastic pipes. If it happens that the water inside them freezes and begins to expand, they will not burst. However, the effect of hot water for them fatal. This does not apply only to pipes made from "Crosslinked" polyethylene, which is very durable and not afraid of high temperatures. These pipes are suitable for use. in the country or piping cold water in your own home.

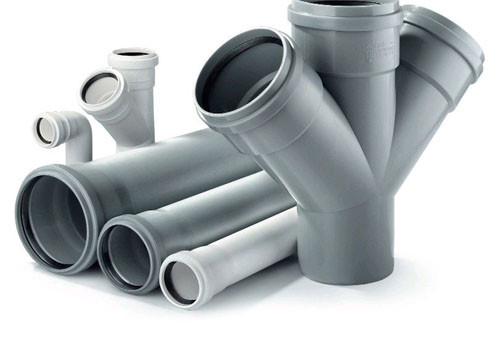
- Polyvinyl chloride – harmful look pipes, which, moreover, has the worst technical indicators. And during operation, with direct contact of water with the walls, harmful substances from the structure of the material fall into the water, which makes them unsuitable for home use. They only fit for technical needs.
Metal-plastic
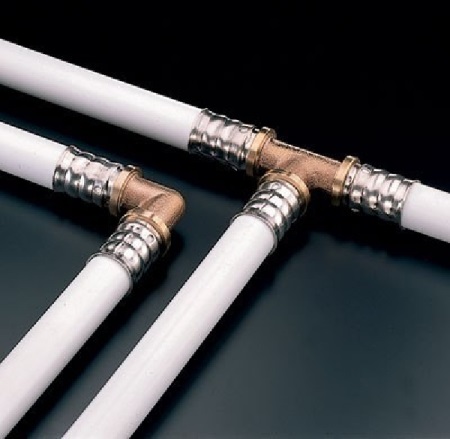
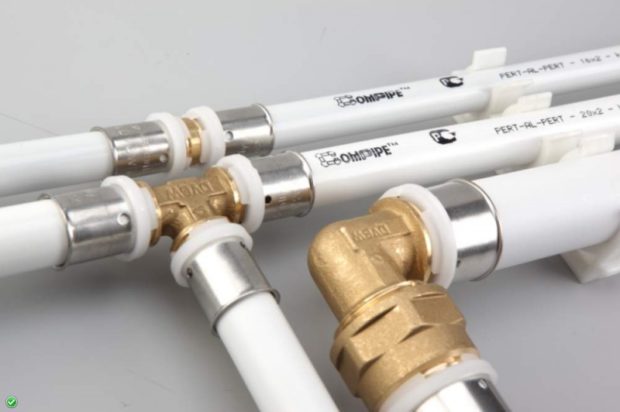
This kind combined all possible advantages of plastic pipes combined with good performance strength steel. They have the most optimal ratio price / quality indicators, which makes them no less suitable for use in apartment than polypropylene. Their wall has five layers bonded with special glue. The frame is made of polyethylene and reinforced with aluminum foil, 0.1 mm thick. Such pipes are sold in special bays. They are not subject to corrosion, frost-resistant, and term them service is about 50 years. They can easily acquire the necessary shape and configuration, and their installation is very simple. Suitable for both water supply and heating systems.
However, there are limitations. To connect the elements together, metal fittings are used, which has a coefficient of linear expansion different from plastic. In some cases, this can lead to leakage. Material fears direct hits sun rays mechanical shocks and kinks, as well as open fire.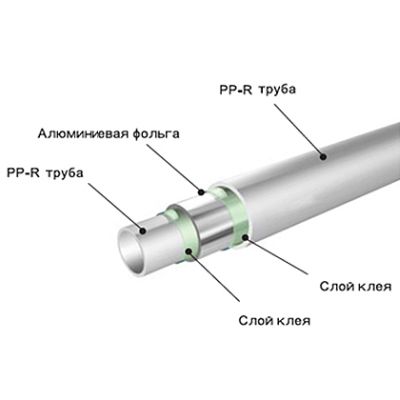
When choosing a material for pipes, it is necessary to focus on their purpose. One thing is for sure - desire to save can sometimes lead to very the sad consequences which can spoil not only your new and expensive repairs, but also provoke a conflict with your neighbors.
2. What elements of the pipe should not be masked
This paragraph refers to the disguise option in which pipes are laid in the strob in the wall and tightly walled up in it under a layer of a special solution, and then under facing materials. In this case, you must be extremely circumspect. After all, if any damage occurs, you will need to permanently ruin the walls. It is not recommended to immediately hide under the cement mortar the wiring just completed. Yes, plastic, steel or copper pipes have a very long service life, but if the soldering is poor, you may not see it right away. Sometimes the seam can be too thin in one place and flow, and this is not visible immediately, but only the next day. Therefore, give the pipes and their joints the opportunity to experience the pressure of water and stand a couple of days in free state. And only after you are convinced of their tightness, can you close the strobes.
So, can be sewn up into the walls:
- Welded steel or copper pipes without threaded connections;
- Soldered plastic pipes without threaded connections.
Not recommended mask the following elements without quick access:
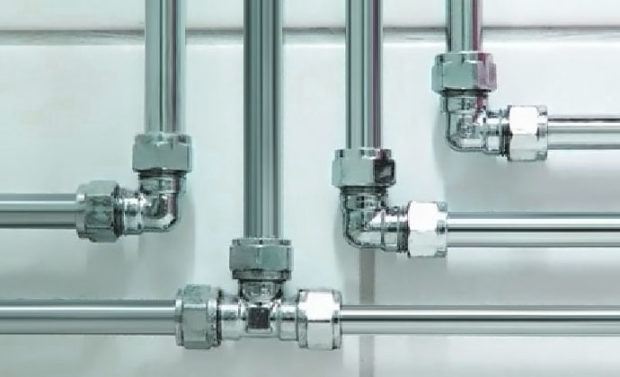
- Metal fittings connections, having a G, T or X shape. In these places, the risk of leakage is increased.
- Compounds made using threaded elements;
- Installation locations counters or filters.

3. The basic rules of disguise
Exist some recommendations adhering to which, you will make your hidden water pipes reliable and safe.
- The minimum number of connections. We have already mentioned that such places are the most problematic and prone to depressurization, so try to make sure that they are as few as possible. This can be achieved by resorting to professional plumbers who can make competent wiring plan.
- Using the same materials. If the presence of connecting elements is inevitable, then they must be made of a material identical to the material of the pipes. Thus, you can not be afraid that the coefficients of their linear expansion or tensile strength will be different.
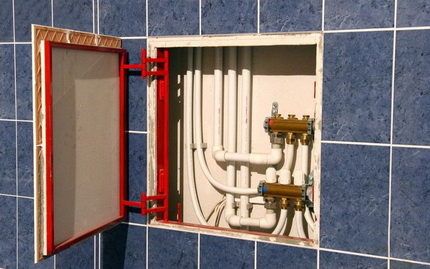
- Mandatory presence of a viewing window. Obviously, in the presence of water meters, it is necessary to take readings from them, and once every few years and give them for verification. Therefore, it is worth immediately providing them with quick access. A small hatch with a removable door will do this job perfectly. Also, such an element is required in places where there are many compounds or water filters. At any time, you can monitor their condition and eliminate the leak in time.
- Do not neglect insulating materials. This rule is especially important for pipes with cold water. After all, condensate is very often collected on them. To avoid this, use a special insulating casing made of foam rubber or thermoflex. In the case of masking the hot pipes in the wall, it will give them the opportunity to safely expand.

4. The most successful ways to make pipes invisible
Of options enough many. Starting from the simplest, which will require a minimum of time and financial costs, and ending with more serious projects. we we list as complexity increases performance of work.
No. 1. We paint or decorate
Most plain and economical the way make communications less visible, and in some cases, even turn them into an integral part of the interior. By the way, plastic pipes can also be painted. The very first question is what paint to choose. If we are talking about the composition of white, then there is a special kind for painting radiators. Its peculiarity lies in the fact that under the influence of heat it does not turn yellow and does not acquire other shades for many years. Its color will remain snowy white.
If we are talking about more interesting colors, then for painting metal pipes alkyd fit acrylic or water dispersion paints. Note, that before painting, they must be cleaned, dust removed and coated primer, which will create a protective layer, will protect the surface from premature corrosion and will contribute to better adhesion to the paint. The primer GF-012 is excellent, which, moreover, has a ridiculous cost - about 50 rubles. Before applying paint, check for condensation. For pipes through which hot water passes, you must select heat resistant paints. For plastic pipes it is necessary to choose more gentle formulations that do not contain acetone. For example, acrylic or pentaphthalic based on white spirit, water-based for mineral surfaces or water-soluble compositions for carpentry. In this case, priming the surface is not necessary. Paint and so it will lie down well, and adhere to a plastic surface.
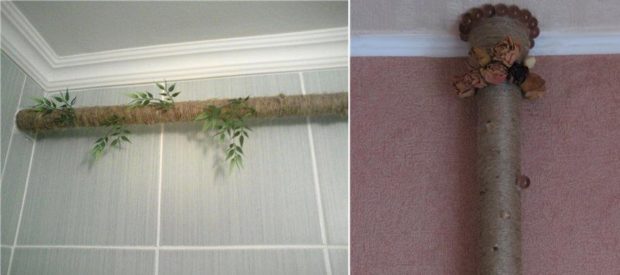
Before applying paint, be sure to protect the walls behind the pipes and floors from unintentional brush strokes or drops. If you are painting for the first time, then start work with cold pipes, because on hot paint dries very quickly and the final result may be unsatisfactory. If you select the paint exactly to match the color of the walls, then you can "dissolve" the pipes against their background. 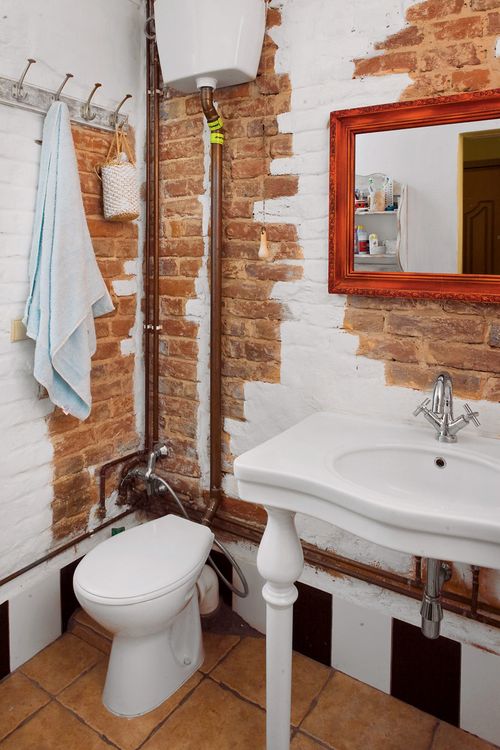 A very interesting option is decoration using polyurethane tubes and stucco decorative elements.Get mini-columns that complement the refined aristocratic or classic style bathroom. But it is only suitable for vertically arranged elements. They can also be hidden with artificial lianas or painted on the surface with a pattern that is already in the interior, for example, on tiles.
No. 2. Disguise with furniture
Not the hardest, but at the same time functional way. It is a skill choose the right kit for the bathroom, which will help hide the flaws. And if, moreover, properly position the plumbing, then you can achieve almost absolute invisibility of the pipes.
Vertical pipes for example, risers, which are the most dimensional, will help to hide a high pencil case. To do this, it is necessary to remove its back wall, and on the back of the shelves make recesses that repeat the dimensions of the pipes. If there is no way to choose the best option among the finished ones, you can always do it to order, which will be even better. In addition to a neat appearance, you will get a lot of additional space for storing household chemicals or other bathroom accessories.
Pipe inlet to to a wash basin it will easily hide the cabinet, with the back of which, it is necessary to do the same. Many use water heater, pipe supply to which, most often from below. If the next nightstand in the bathroom is already clearly superfluous, you can put a beautiful laundry basket under it. Fortunately, the diversity of their appearance allows you to choose the most successful model for any interior.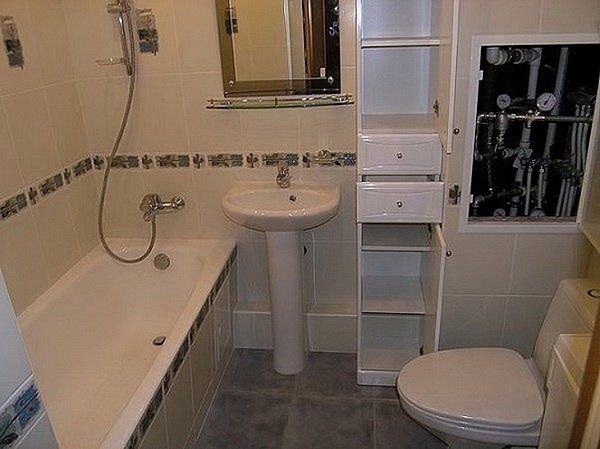
No. 3. Screen made of plastic panels
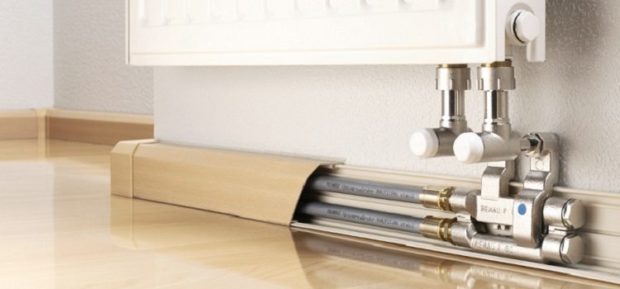
Probably it most successful option in terms of material selection. After all, even in a too humid room with Pvc panels no changes will occur. In addition, they are very easy to mount, and if necessary, the structure can always be quickly disassembled with the possibility of reassembly. Plastic is very easy to clean and does not deform over time. And the variety of color options and even textures today is simply amazing. Such screens can hide overall vertical pipes horizontal pipes passing over the floor itself or do screen under the bath.
In order to cover the plastic, it is necessary to make base frame. As materials, you can use wooden planks, metal profiles or plastic U-shaped corners. The process is very reminiscent of installation technology of a plastic ceiling. Before attaching the frame, be sure to mark it with level or plumb. Now fasten all the trims around the perimeter of the selected area. If the area is large, do not forget to add a few elements in the middle to give rigidity. Now cut the plastic panels into pieces of the required size. The first panel will be attached to the profile screws. They should be screwed into the lock part. Next, simply connect the panels to each other using special latches. The last element is also fastened with a fixing screw. For reliability, you can screw a self-tapping screw in the middle of the first and last panel above and below. But not on each, otherwise it will be difficult to disassemble the structure as necessary. Now, to give the screen a more accurate look and hide all the fasteners, use decorative corners.
Mounting the screen under the bathroom will have a similar technology. The lower bar is attached directly to the floor, and the upper one at one end to the wall, and then held by struts, which must be placed at a distance of no more than 40 cm from each other. Plastic sheathing is performed in a similar manner. With the help of the screen you can hide and communications that are suitable for the most bath and to the sink, if it is near. And if you equip it with a small window, then also store household chemicals there. Yes, and the bathroom looks that way, more aesthetically pleasing. In the same way hiding and pipes passing over by the floor and even counters. Such a step will be narrow and neat. It can even be used as a small shelf.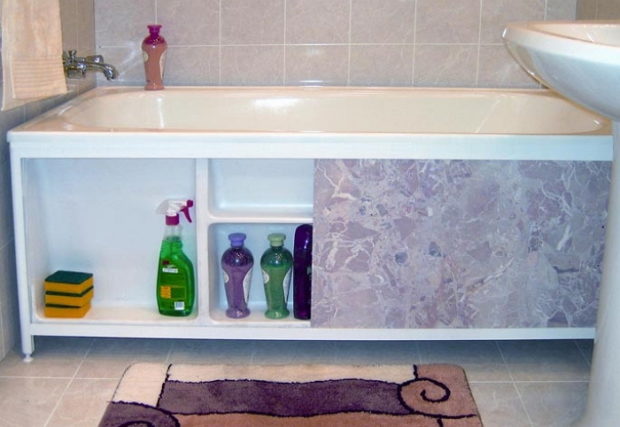
Number 4. Drywall Box or Raised Wall
This is more than difficult ways disguises that require large financial costs and time to complete them. Using the box from drywall can hide the pipes that oriented as vertically like that horizontally. And just like plastic, they can sheathe the bath. The only difference is that drywall needs subsequent additional cladding. Remember that in rooms with high humidity should be used only moisture resistant materials!
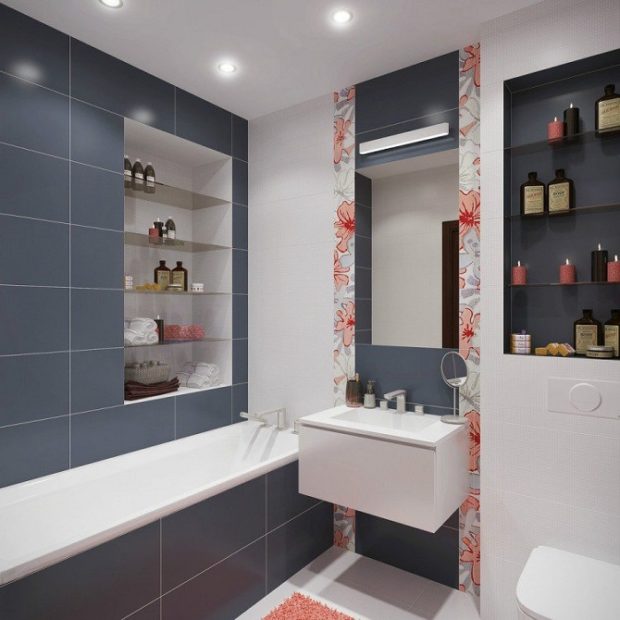
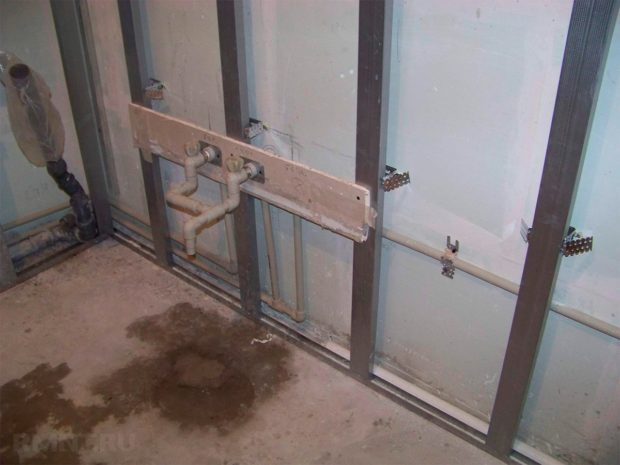
The actions will be similar to those described above. From metal profiles, a frame of the required size is mounted in the desired location. Naturally, before this, the straightness of all faces must be checked with the help of a level. After this, fragments of drywall of the desired size are cut, and with the help of self-tapping screws suitable for the installation of this particular material, they are attached to the frame. When the frame is assembled, it is necessary to prime the surface, stick a special mesh at the joints and apply a layer of putty. After that, you can finish the lining with suitable materials. These frames look very well finished tiled mosaic. Thanks to small size they do not spoil, but rather complement the interior premises and create additional accents in it. Thus, even flaws can be turned into something beautiful and useful. 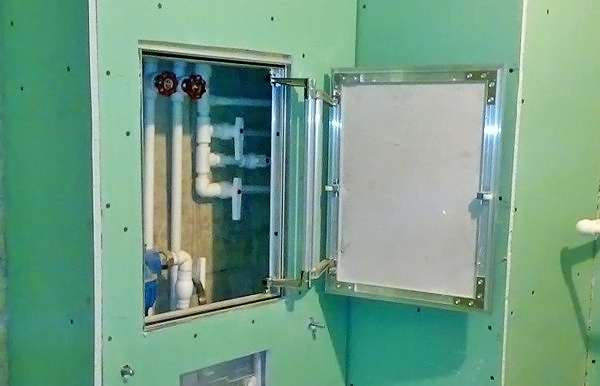 Concerning false walls. It is most appropriate to erect in front of the risers especially if installed in front of them toilet, as happens in most cases. There is no need to carry it. After all, modern models require installation close to the wall, in which we hide the lower volume corrugation. The only disadvantage such an element is using useful the area of the room. Here you already have to choose - aesthetics or dimensions. The maximum of such a protrusion will have a width of 30 cm. But behind the false wall you can hide both filters and counters. It is not recommended to make it deaf. You can make a cutout over the toilet, equip it with hinges and hang a beautiful door. A metal box is made of metal profiles, which will fence off the pipes from the general space of the room, and is sheathed with drywall. Further finishes are strictly to your liking.
No. 5. Tiled frame
This refers not only to the plasterboard surface sheathed with tiles, namely collapsible tile design. It is good because at any time you get access to problem areas without the need to crush walls. Dismantling can be done using conventional screwdriver, and then collect everything as it was. In addition, if the lining is made with the same tile as on the walls, then no one will understand that there is something hidden.
For the construction of the frame you will need: drill, tile cutter or hacksaw for metal, metal profiles, plastic corners, screws and itself tile. Of the profiles, a frame is installed, which is attached to the floor, and to the ceiling, and to adjacent walls. For this, there are special metal staples. After the frame is ready, it is necessary to make measurements of its faces, on which the tile will be attached, and perform tile cutting. Do not forget to take into account the thickness of the tile, if you want one face to go over the other. Now, with the help of a drill and feather drills, it is necessary to drill two holes for the screws on the edges of the tile. Then attach the tile to the frame and mark with a marker on the profile in the center of these holes. So you will definitely get to the right place and perform installation without distortion. But note that the holes in the tile should already be such that the self-tapping screw passes freely in them. While in profile, they should be smaller.Otherwise, you just do not twist them. When all the tiles fall into place, the corners and attachment points are closed with decorative plastic corners. In the right place you can make a gap between the tiles and install a neat plastic door there, in case there are water meters. 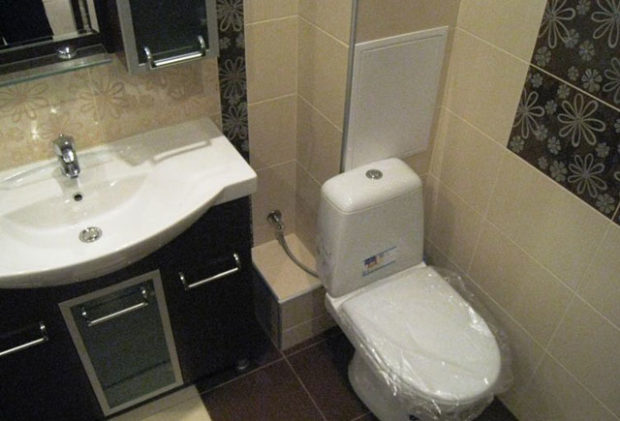 At work with tiled tiled do not forget about own security. When cutting tiles have very sharp edges, so it is recommended to work with gloves. Little tip - if you wet them before cutting, you will reduce the likelihood of chipping along the edges or the appearance of cracks. Do not forget about safety glasses. In case of destruction, the glazed top layer crumbles into small sharp pieces and scatters over a long distance. Eye contact may cause irreparable harm.
No. 6. Plumbing shutters
Venetian blinds or blinds - this is quite unusual way disguises that are rarely seen in apartments. However, he is very comfortable and original. Such a design can provide the most full and easy access to pipes along almost their entire length in seconds. There is a special kind of them - plumbing shutters. They perfectly complement the interior of the high-tech bathroom, modern or loft. The color scheme is also quite diverse and allows you to choose the most successful option. 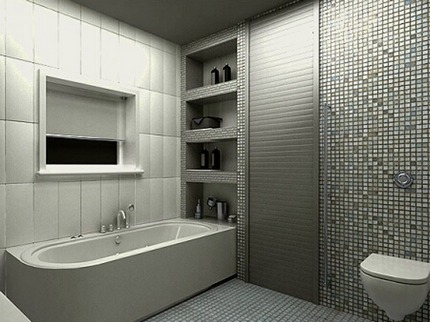 When installed, provided two options for raising / lowering - electrical and mechanical. The choice should be based on the size of the canvas. With a width of the blocked opening up to 52 cm inclusive, a manual control system on a cord mechanism is sufficient. If the surface area is larger, then such systems are equipped with a spring mechanism. The only thing condition, which is required must be done in the presence of an automated lift - the engine casing should be located in a sealed casing, which does not get moisture and dust. IN frame quality drywall construction, plastic box or false wall can serve. To provide stable performance shutters, it is necessary that the sides of the frame structure are strictly parallel to each other. Otherwise, jamming is inevitable, since the skew, even slight, will not allow the rollers to freely slide along the grooves.
there is two mounting options - when the roller shutters are located on top of the box or when the box is located around the canvas. The first option is suitable in case the risers are located in a natural niche. Then, along its perimeter, a profile is simply installed on which the blinds are attached and form a single plane with the wall. The second option involves protruding structures, the lateral parts of which are sewn with drywall and lined with appropriate materials, and the front is closed with shutters. When mounting a web with a cord mechanism first completely collect according to the instructions, and then already are mounted.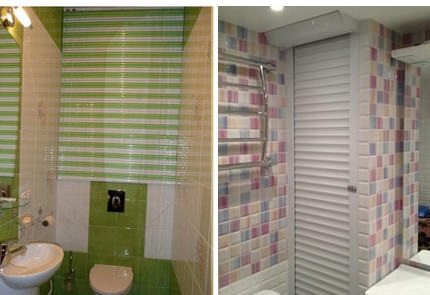
Number 7. Installation of pipes in the wall
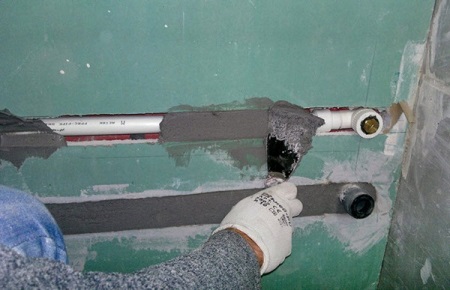
This is the most radical and labour intensive process. It is actively used in case of repair from scratch or when redevelopment. Significant plus of this method - maintaining the size of the room. Remember that according to generally accepted building codes, not allowed to strob brick and thin-walled partitions in prefabricated houses. The main disadvantage this method is to restrict access to pipes in the event of an accident. Therefore, before giving preference to this type of disguise, carefully again read paragraph 2 this article and adhere strictly to it. AND necessarily before starting work draw on paper wiring plan. When you accurately determine the location of all the elements of plumbing, you can begin to shatter the walls. 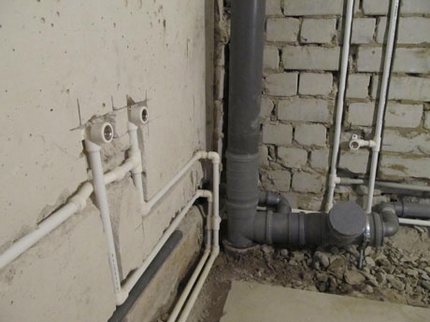 To avoid distortions and other irregularities, draw preliminary lines on the walls and try to stick to them.Depending on the material of the walls, you can get by with a perforating drill, in extreme cases, you have to use hammer drill. Will be very a lot of dust, therefore use a respirator and goggles. When all the strobes are ready, remove debris from them, open with a primer and lay pipes in them. Wait a few days to make sure all connections are tight. After that, fix their position with cement mortar. Only after complete drying is allowed to start facing work.
5. The pros and cons of masking pipes in the bathroom
Naturally, like any process, there is how positive like that negative sides. Start with good:
- Primarily - aesthetic interior your room.
- When hiding in the wall - area conservation premises.
- When masking with furniture elements - occurrence extra space for storage and the ability to create a beautiful interior.
Now about sad:
- If unsuitable or substandard pipe materials are useda breakthrough is inevitable.
- In any case, except for the option with roller shutters, access to communications will limited.
- IN case occurrence accident to eliminate it will have to ruin the design completely, especially from drywall. It’s a shame to do this if it is tiled.
- Disguise in walls generally threatens to start a new repair in which case. In the meantime, you will find the reason and get to it, repair from your neighbors is not ruled out at your expense.
- When use of items of furniture the disadvantage is constant contact from water its individual elements. And even moisture-resistant chipboard will swell over time. True of this can be avoided if you process the walls of the shelves with silicone and wipe them regularly.

That's all highlights. But do not completely abandon such an idea. After all, it requires only literate and responsible approach to yourself.

