8 tips for sticking ceiling skirting or fillet
Galtel or, as the common people used to say, skirting board, it’s a baguette, is an indispensable element that hides the joint between the ceiling and walls thereby giving the interior a finished and neat look. At first glance, it may seem that the independent installation of the fillet is an elementary matter. But practice shows that often without nuances in the form of curve joints in the corners, the gaps between the walls and the baseboard, etc. does not cost. To avoid common mistakes, check out Tips for sticking ceiling skirting or filletcollected in our article.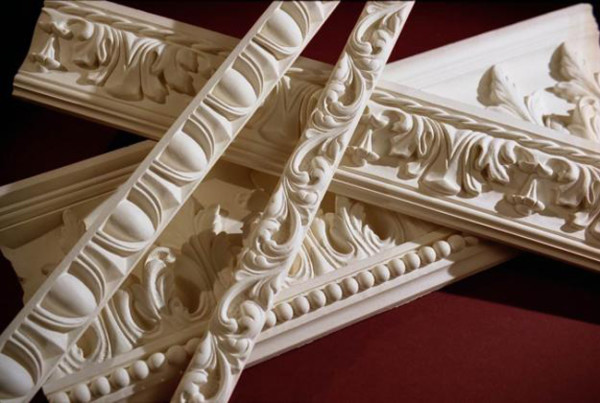
What material to choose
The ceiling plinth can be used to decorate any room in a house or apartment, including the kitchen and the bathroom. 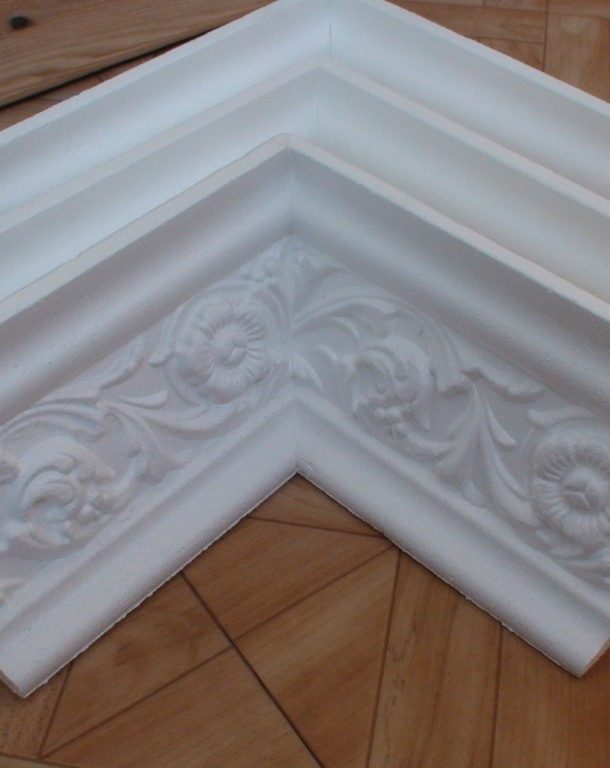 Before you need consider not only the decorative qualities of the element, but also conditions his operation.
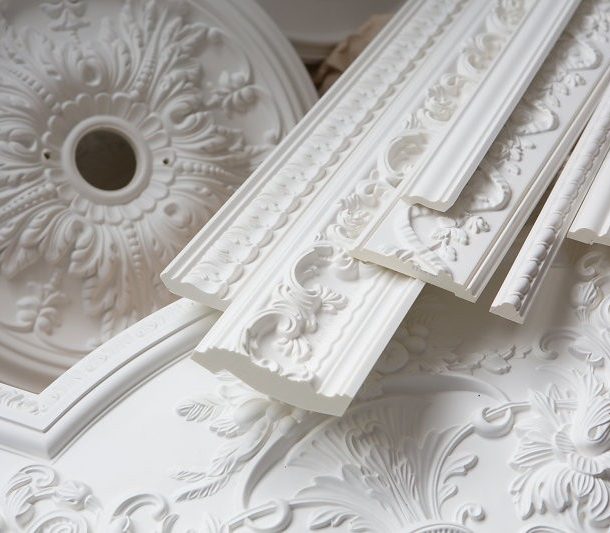
- The most common and affordable are baguettes from polystyrene foam. The choice of sizes and shapes of such skirting boards is very diverse. Their main advantage is the low weight and ease of cutting, which ensures quick fitting of elements to each other. TO disadvantages fire hazard, static, low level of adhesion with some adhesives and the relative softness of the material can be attributed. If the polystyrene foam fillet is pressed too firmly against the wall during installation, dents from your fingers may remain on the surface. Many note that foam plinths tend to dry out, which leads to the formation of gaps at the joints. Therefore, it is not recommended to use them for decoration of rooms with a high level of humidity and constant temperature changes - kitchen and bathroom;
- Their skirtings are more resistant to various external influences, elastic and dense. polyurethane. We can say that this material is suitable for decoration of any room. Polyurethane products are highly decorative and have a variety of shapes and textures. To their disadvantages high cost can be attributed;

- For rooms with a high level of humidity, it is recommended to choose fillets from polyvinyl chloride. They are durable, easy to care for, their surface does not attract dust and dirt. TO disadvantages include increased stiffness of the material. These skirting boards are difficult to cut and can only be mounted on perfectly smooth walls;
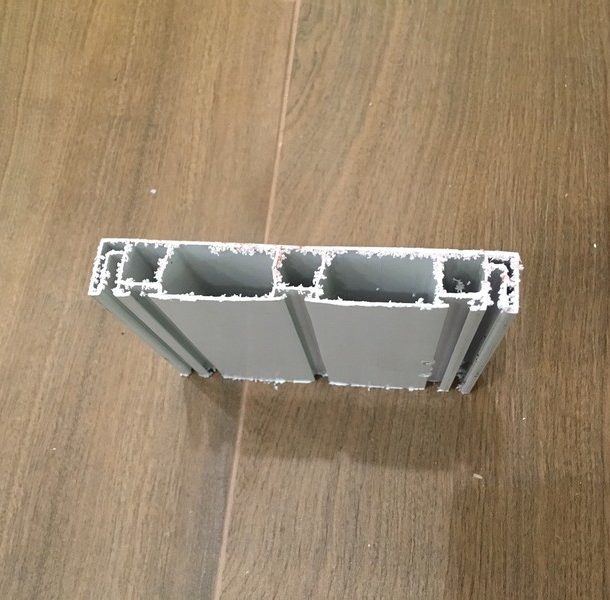
- The average cost between foam and polyurethane is polystyrene baseboard. Its design and size range are quite diverse. The surface can be painted. Often polystyrene skirting boards are used in the organization hidden ceiling lighting. Their distinguishing feature is the presence of a soft flexible edge, which allows you to level out small convexities of the surface of the base. TO disadvantages can be attributed the relative fragility of the material at its high hardness. The surface is easy to scratch during cutting;
- Wooden the plinth will be an excellent addition to the living room or bedroom, whose interior is designed in a classic style. Wood is a durable, safe material and has natural beauty. The installation of wooden fillets is best entrusted to specialists due to their high cost.Natural wood does not tolerate moisture and sudden changes in temperature, therefore, it is not recommended for appropriate conditions;
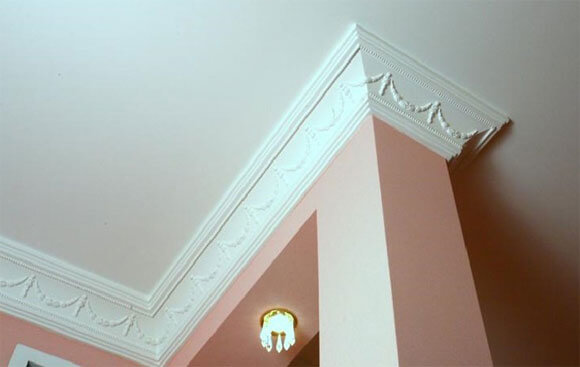
- Gypsum plaster skirting boards are suitable for luxurious, rich interiors. Such products are quite expensive and complicated in terms of installation due to the high fragility and rather significant weight. Over time, gypsum tends to change its color to yellowish and become covered with a net of small cracks. In some cases, this feature brings a special charm to the interior in a medieval style.
How to glue?
The choice of skirting material also influences the choice of a suitable adhesive:
- For foam and polystyrene skirting boards best use acrylic putty. If you choose from adhesives, then the package must have a mark confirming that the composition is suitable for use with the selected materials. Universal is the "Titan". It does not melt the surface of baguettes, as is the case with other glues;
- Polyurethane skirting boards can be glued with acrylic putty or with special glue intended for this material;
- Baseboards of natural wood mounted on liquid Nails and additionally fixed with screws;
- Fillets plaster glued to a mixture of alabaster and PVA glue. If necessary, the elements are also fixed with self-tapping screws, and after the glue mixture has dried, they are twisted and the holes are filled with putty or alabaster. If the baseboard is too bulky and heavy, you can leave the screws by disguising their hats.
 In addition, you can prepare a high-quality adhesive on your own. You will need finishing putty of any company, water and PVA glue. Mix the components as follows:
- Pour 4 parts of putty into a convenient container;
- Add 1 part glue;
- Pour in a little clean cold water and mix thoroughly;
- The mixture should be so thick that it does not drain off the baseboard, but at the same time remains elastic, about like sour cream;
- Leave the mixture for 5-10 minutes and mix again.
Do not immediately cook large quantities of glue, as it is suitable for use for a maximum of 2 hours. Knead the mixture only when all the skirting boards are cut and prepared.
When to glue - before wall decoration or after?
You can glue the ceiling skirting both before the finish of the walls and ceiling, and after it.  Both options are used both by professional teams, and in self-repair. Difference is as follows:
- Mounting fillets on the bare walls and not painted or plastered ceiling has several advantages. Firstly, during work, you do not need to worry that wallpaper or other finishes may be spoiled by drops of glue or smeared putty. Secondly, it is possible to better close the cracks between the wall and the baseboard, if the walls are uneven. To do this, they are simply filled with putty, and then they clean and smooth the surface. Thirdly, if after installation you make simultaneous putty and painting of the ceiling and baseboard, they will look like a single whole. And most importantly - in the subsequent wallpaper change or other wall decoration material, you will not need to dismantle the baguette, and then re-glue it;
- Mounting skirting boards on finished walls makes it possible to hide the trimmed edge of the wallpaper, thereby making the finish more accurate and so time-consuming.
In both cases, there is a chance emphasize height difference between the ceiling and the floor. Especially if the finish has a geometric or other print with clear shapes. Each time, cutting a strip of wallpaper exactly under the glued skirting board, it is likely that the picture will "run away" up or down. Consider this moment when choosing wallpaper, if the repair does not imply the alignment of the floor or ceiling.
Work order
Now for the correct action algorithm.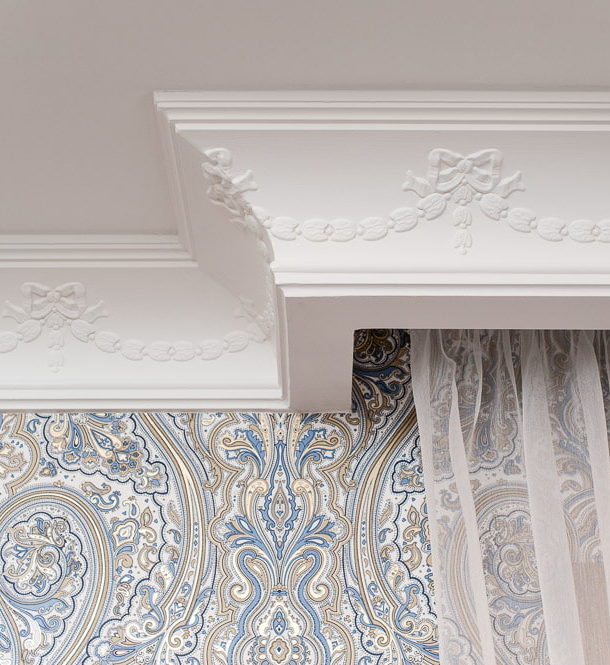
- Material calculation. Any finishing work begins with calculating the required number of elements. In the case of skirting boards, this is very simple - just measure the perimeter of the room. If there is a room niches or protruding elements, for example, the columns or drywall constructions, they also need to be included in the measurement of the length of the wall. The standard length of the ceiling plinth is 2 m. Therefore, the perimeter value must be a multiple of two and rounded up. For example, 23 linear meters need 23/2 = 11.5, that is, 12 skirting boards. If this is your first installation, we advise you to take another baseboard in reserve in case you do not immediately succeed in performing high-quality trimming in the corners;
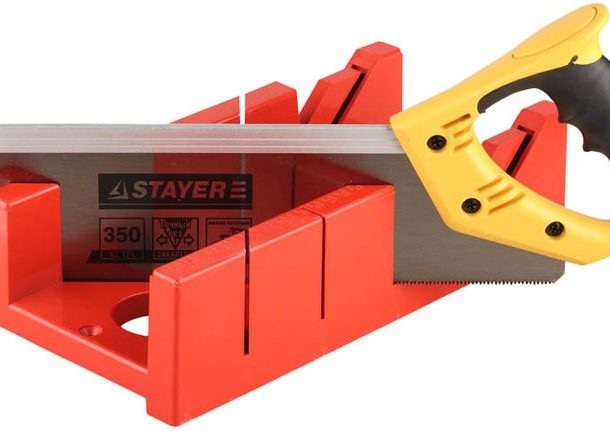
- Preliminary cut. We recommend cutting the skirting boards and all corner joints in advance and arranging them under the wall in the appropriate order, so that only glue is left and pressed against the wall. It is most convenient to cut oblique sections for corners using a special device - a miter box. The picture shows how to position the skirting board for external or internal cutting. If the corners in the room are frankly uneven, you will have to cut, applying the baseboard to the wall. How to do this quickly and correctly, we will describe in the next paragraph;
- Surface preparation. If mounting on walls without finishing, make sure that there are no dust, traces on them wallpaper glue or previous baguettes and other contaminants. Walk on the wall sand paperwipe it with a damp cloth and open primer. In the same way, prepare the ceiling plane. If the baseboard is mounted on top of the finish, just wipe the dust;
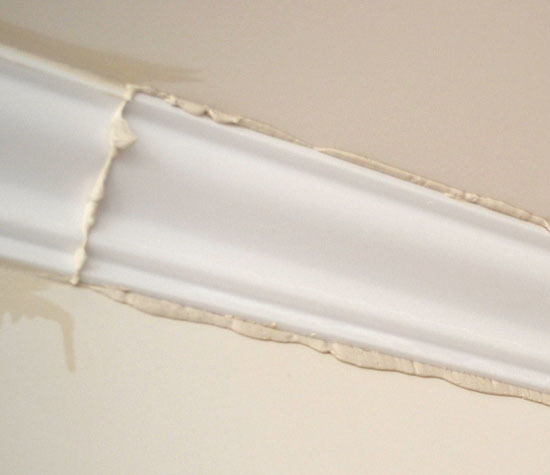
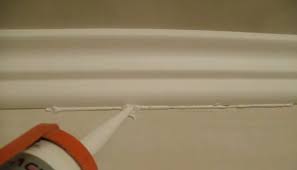
- Sticking. Many advise starting installation from the corners. It will be much easier to insert a piece that is missing in length with two even slices than trying to add an element with one even edge and an angular cut. After all, the cut will have to be done in place and if the first try fails, there may not be enough length and there will be a clearance. Of course, it can be repaired with putty, but it’s not very convenient. If the outer or inner corner has an irregular shape and the fillet does not fit the entire plane, you can temporarily fasten the corners together using sewing pins. After the glue is seized, the needles are carefully removed and the hole is coated with putty. The adhesive is applied to the back of the plinth in a small amount with a zigzag or small dash so as not to squeeze out excess on the lined surfaces. Then they allow the glue to seize for a couple of minutes and press the fillet against the wall and the ceiling. The clamp should be uniform, so it is best to do this with an assistant. In order not to stain the plinth, you can press it with a cloth. Putty is applied with a thin continuous layer. The remnants of the adhesive immediately wipe with a wet rag;
- Dyeing - is an optional step. But if the ceiling is not painted yet, it is best to cover with interior paint and skirting. Be sure to protect the wall with masking tape. Skirting boards paint medium-sized brush.

Cut the outer and inner corners without a miter box
There is one fairly simple and convenient way to cut corners on a skirting board without a miter box. 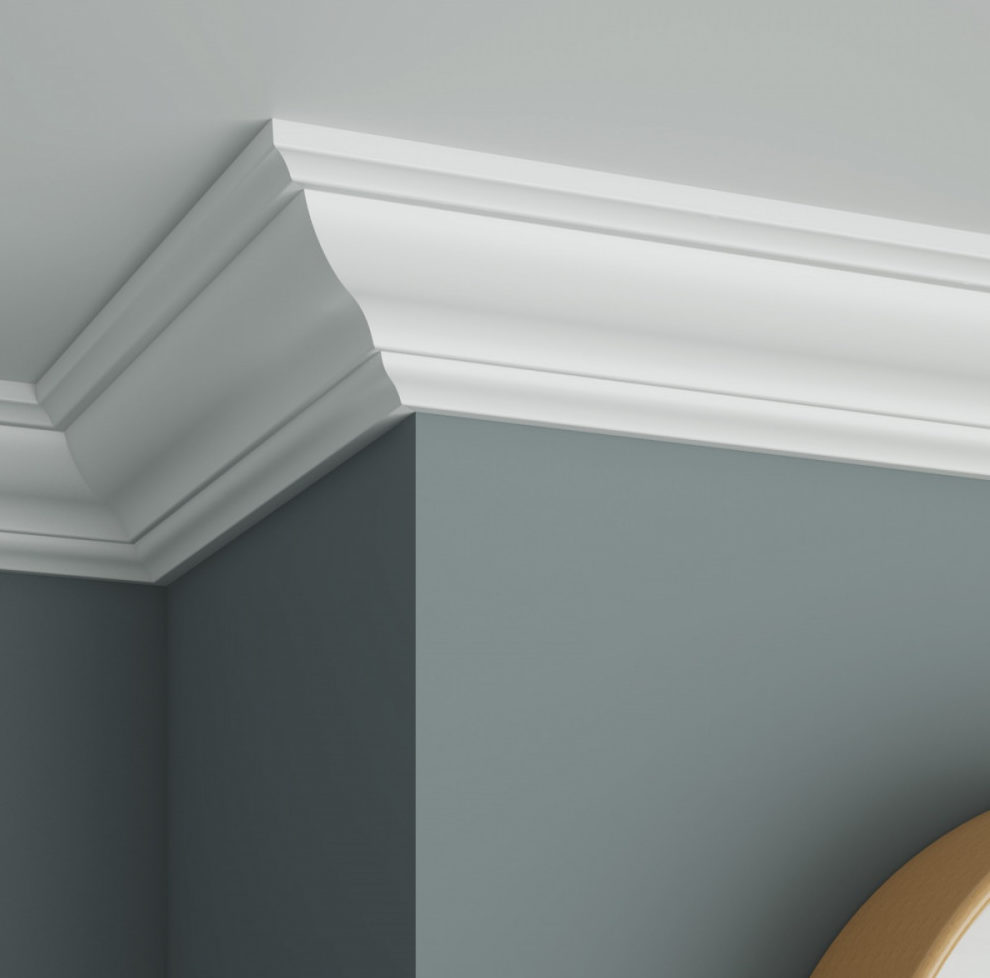 This method is suitable for both external and external corners. Procedure when cutting the inner corner:
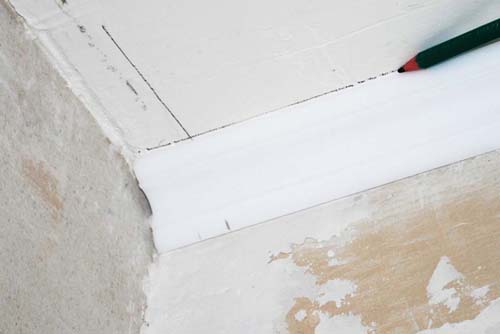
- The baseboard leans against the wall and ceiling at the right angle. A mark is made with a pencil on the ceiling along the skirting line;
- Then the baseboard is pressed against the second wall, forming an angle and a similar line is drawn along the upper edge;
- Two lines are cut at a certain point. The junction should be moved first to one baseboard, then to the second;
- It remains to draw a line on the baseboard connecting the point and the lower edge and make a cut. “Try on” the corner connection, if both halves are adjacent to each other without a gap, you can proceed with installation. If there are small gaps, trim the plane with a knife.
At cutting outside corners in this manner:
- It is also necessary to mark with a pencil on the ceiling the line of fit of the baseboard. In this case, the skirting board should be extended around the corner to approximately its width;
- When you draw both lines and get the intersection point, again lean the baseboard against the outer corner and move the mark to the top edge, and the edge of the corner to the bottom;
- By connecting the two points, you get a cut line.
We glue the plinth on the curved walls
It's no secret that the walls in our apartments are, to put it mildly, not quite even.  If surface leveling is not part of your plans, you need to glue the skirting board in such a way as not to emphasize this drawback once again.
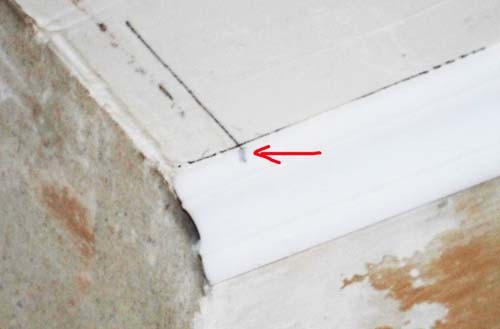
- Attach the baseboard to the wall and see how tight it is and how many gaps form in many places. If there are enough contact points, glue or liquid nails can be used. If there are too many gaps, it is better to put the baseboard on the putty;
- In no case do not try to pin down the baseboard to the wall, removing the clearance. Thus, you emphasize its curvature. Glue as is;
- After the glue has dried, fill all the gaps with white sealant. Surplus after drying is cut off with a blade;
- In the ideal case, gluing the fillet onto curved walls should be done before the walls are finished. Then, with the help of putty, you can easily and fairly effectively fill the voids and visually align the wall;
- If there is a problem when joining the corner elements, a step has formed or there are no contact points, chop the two parts together with sewing pins, forming the correct angle, and fix it in this position. You can use the recommendations from the video.
How to glue the fillet if the ceiling is stretched?
Stretch ceiling is no longer a rarity. Due to the ease of installation and relatively affordable cost, they almost replaced the drywall construction. 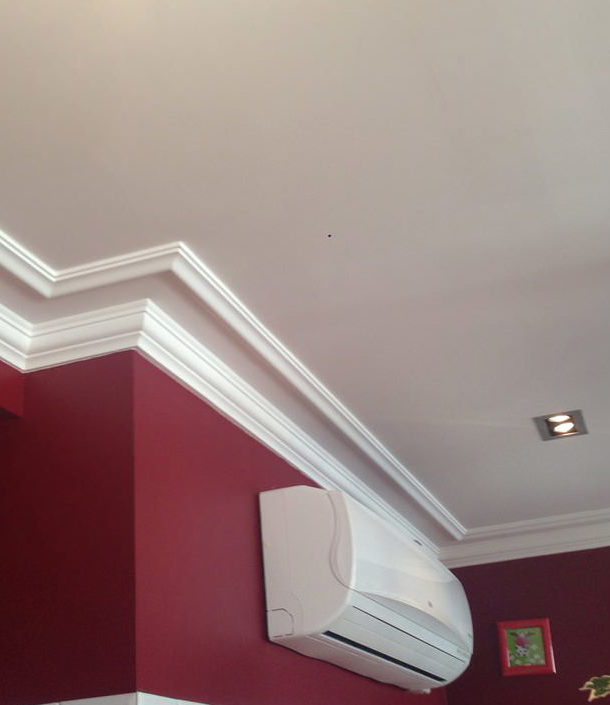 A polyurethane baseboard is included with the stretch ceiling, which closes the joint between the ceiling and the wall. But often it is so thin and lacking decorative qualities that there is a need to use a fillet. This raises the question - how to glue it to the tension surface. In this case the adhesive is applied only to the back of the skirting board that will fit against the wall. Since the installation area will decrease in this case, we recommend choosing lighter polystyrene fillets. Otherwise, the procedure is the same as in paragraph 4.
They look very beautiful stretch ceilings with hidden niches for cornice. This design can also be decorated with a ceiling plinth, but first, for its installation, you need to create a reference plane:
- There is a beam in the ceiling niche, to which we will fasten the base plate for the baseboard;
- As a bar, you can use, for example, a light box made of plastic or a plastic cornice;
- Measure the length of the niche and cut the profile;
- Attach the fillet to the box so that its lower edge protrudes a couple of millimeters beyond the plane of the profile, and mark with a pencil the line of the upper edge. This is necessary to see at what height the profile is fixed to the beam;
- Very carefully, using self-tapping screws, screw the support bar to the beam in accordance with the marking;
- Wipe the plastic surface and glue the fillet to it.
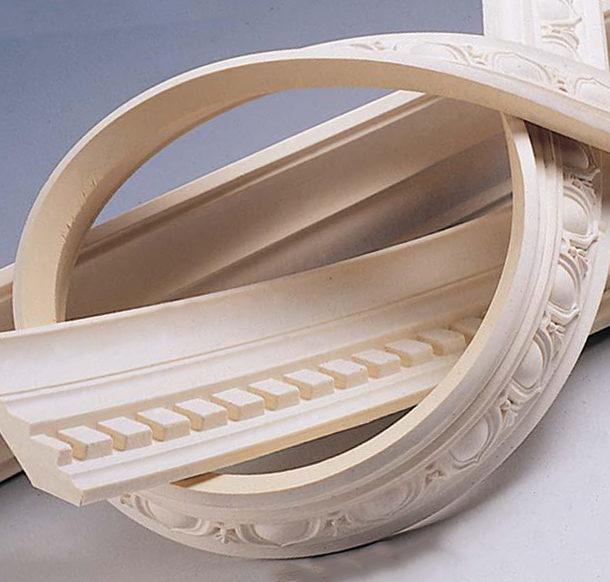
How to stick the baseboard on a radius or bend?
If the interior of the room is decorated with half columns, the plasterboard designs are convex or concave or bay window, the process of gluing a ceiling plinth is somewhat complicated. 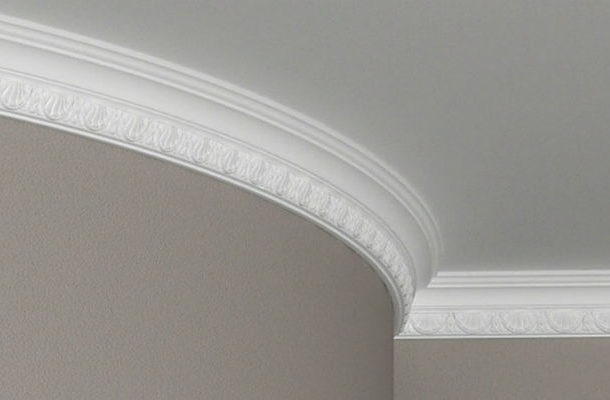 You can get out of the situation using special polyurethane skirting boards, which include rubber, which ensures their high flexibility. If this is not possible, then you can bend the baseboard one of the following methods:
- Simplest - to do frequent incisions on the back of the fillet, after which, without applying force, try to bend the element into an arc with the required radius.If the bending is insufficient, the distance between the notches can be reduced. Accordingly, the larger the radius, the incisions will have a greater distance between themselves and vice versa;
- In the case when the radius is very small and the baseboard is no longer bent, it cut into small pieces. The necessary arc is formed from them, gluing them alternately and cutting them in the form of a wedge. Keep in mind that such a fit requires scrupulousness and can be complicated by the presence of embossment and a pattern on the surface of the baguette. Therefore, if your premises have such problem areas, pre-select a simpler fillet design;
- If the bending radius is small, you can try to bend the baseboard, heat his with help building hair dryer. If there is no hair dryer, you can lower the skirting board for several minutes in hot water, bend it, and then cool it down sharply in cold water to fix the shape;
- On the back of the fillet there are stiffeners, cutting off which, you can easily bend it into an arc. To give strength to the reverse side in the absence of ribs, you can glue a strip of tape.


 11 tips for choosing the right skirting board
 Linoleum underlay on concrete floor: 6 tips for choosing
 5 tips for choosing and installing a kitchen skirting board ...
 6 tips for choosing a wallpaper for the bathroom
 12 tips for choosing a skirting board for the floor + photo
 6 tips on which parquet varnish to choose
 Wallpaper under the skin in the interior: 5 tips for choosing and ...
 How to paint the OSB plate outside and inside the house: 8 tips
 9 materials for finishing the ceiling in the kitchen
 Laminate wall decoration. How to fix a laminate on a wall?