Correct installation of the washbasin: wall mounted, overhead (desktop), floor
Choose a washbasin suitable for size, material and shape - This is only the first step towards creating a beautiful and comfortable bathroom. The selected washbasin still needs to be installed correctly, and since the task is not very difficult, then if you have at least minimal experience and if you want to figure it out, you can cope with the installation yourself. But the installation of different types of washbasins is distinguished by its nuances and features that require closer examination.
Correct sink height
 Before proceeding directly to the installation of the sink, it is necessary to find out at what height it should nevertheless be mounted. Many people do not pay due attention to this issue, and as a result, often even the most stylish and modern bathroom is decorated with a completely non-ergonomic sink, for the use of which it is necessary to bend down. And if once such inconveniences can be tolerated, then day after day for several years, washing, brushing your teeth, painting or shaving with a not very convenient washbasin will be difficult. That is why it is important to determine the optimal height of its location.
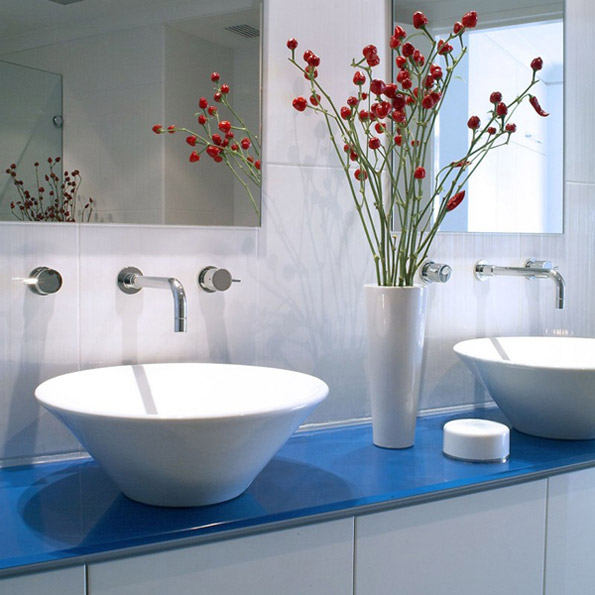
So, previously there were standards that determined the location of the sink at a height of 70-75 cm. Since Soviet times, these standards have not actually been revised, but the experience of using washbasins tells us that for greater convenience it should be located slightly higher. So, ergonomists have determined that the optimal height is 5-10 cm below the elbow, since in this position the cyst is most convenient. That is why there can be no question of any one digit, one value of height, which would suit absolutely everyone. So, with an average female height, the height of the washbasin should be about 90 cm. If there are several people in the family, then the average value is displayed or, like in American bathtubs, several sinks are used, and even there are sinks for children, and they can be adjusted in height .
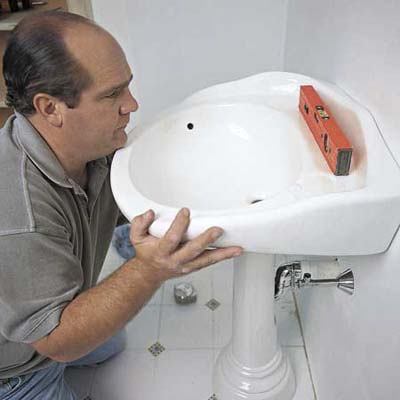
Installing a washbasin on a pedestal
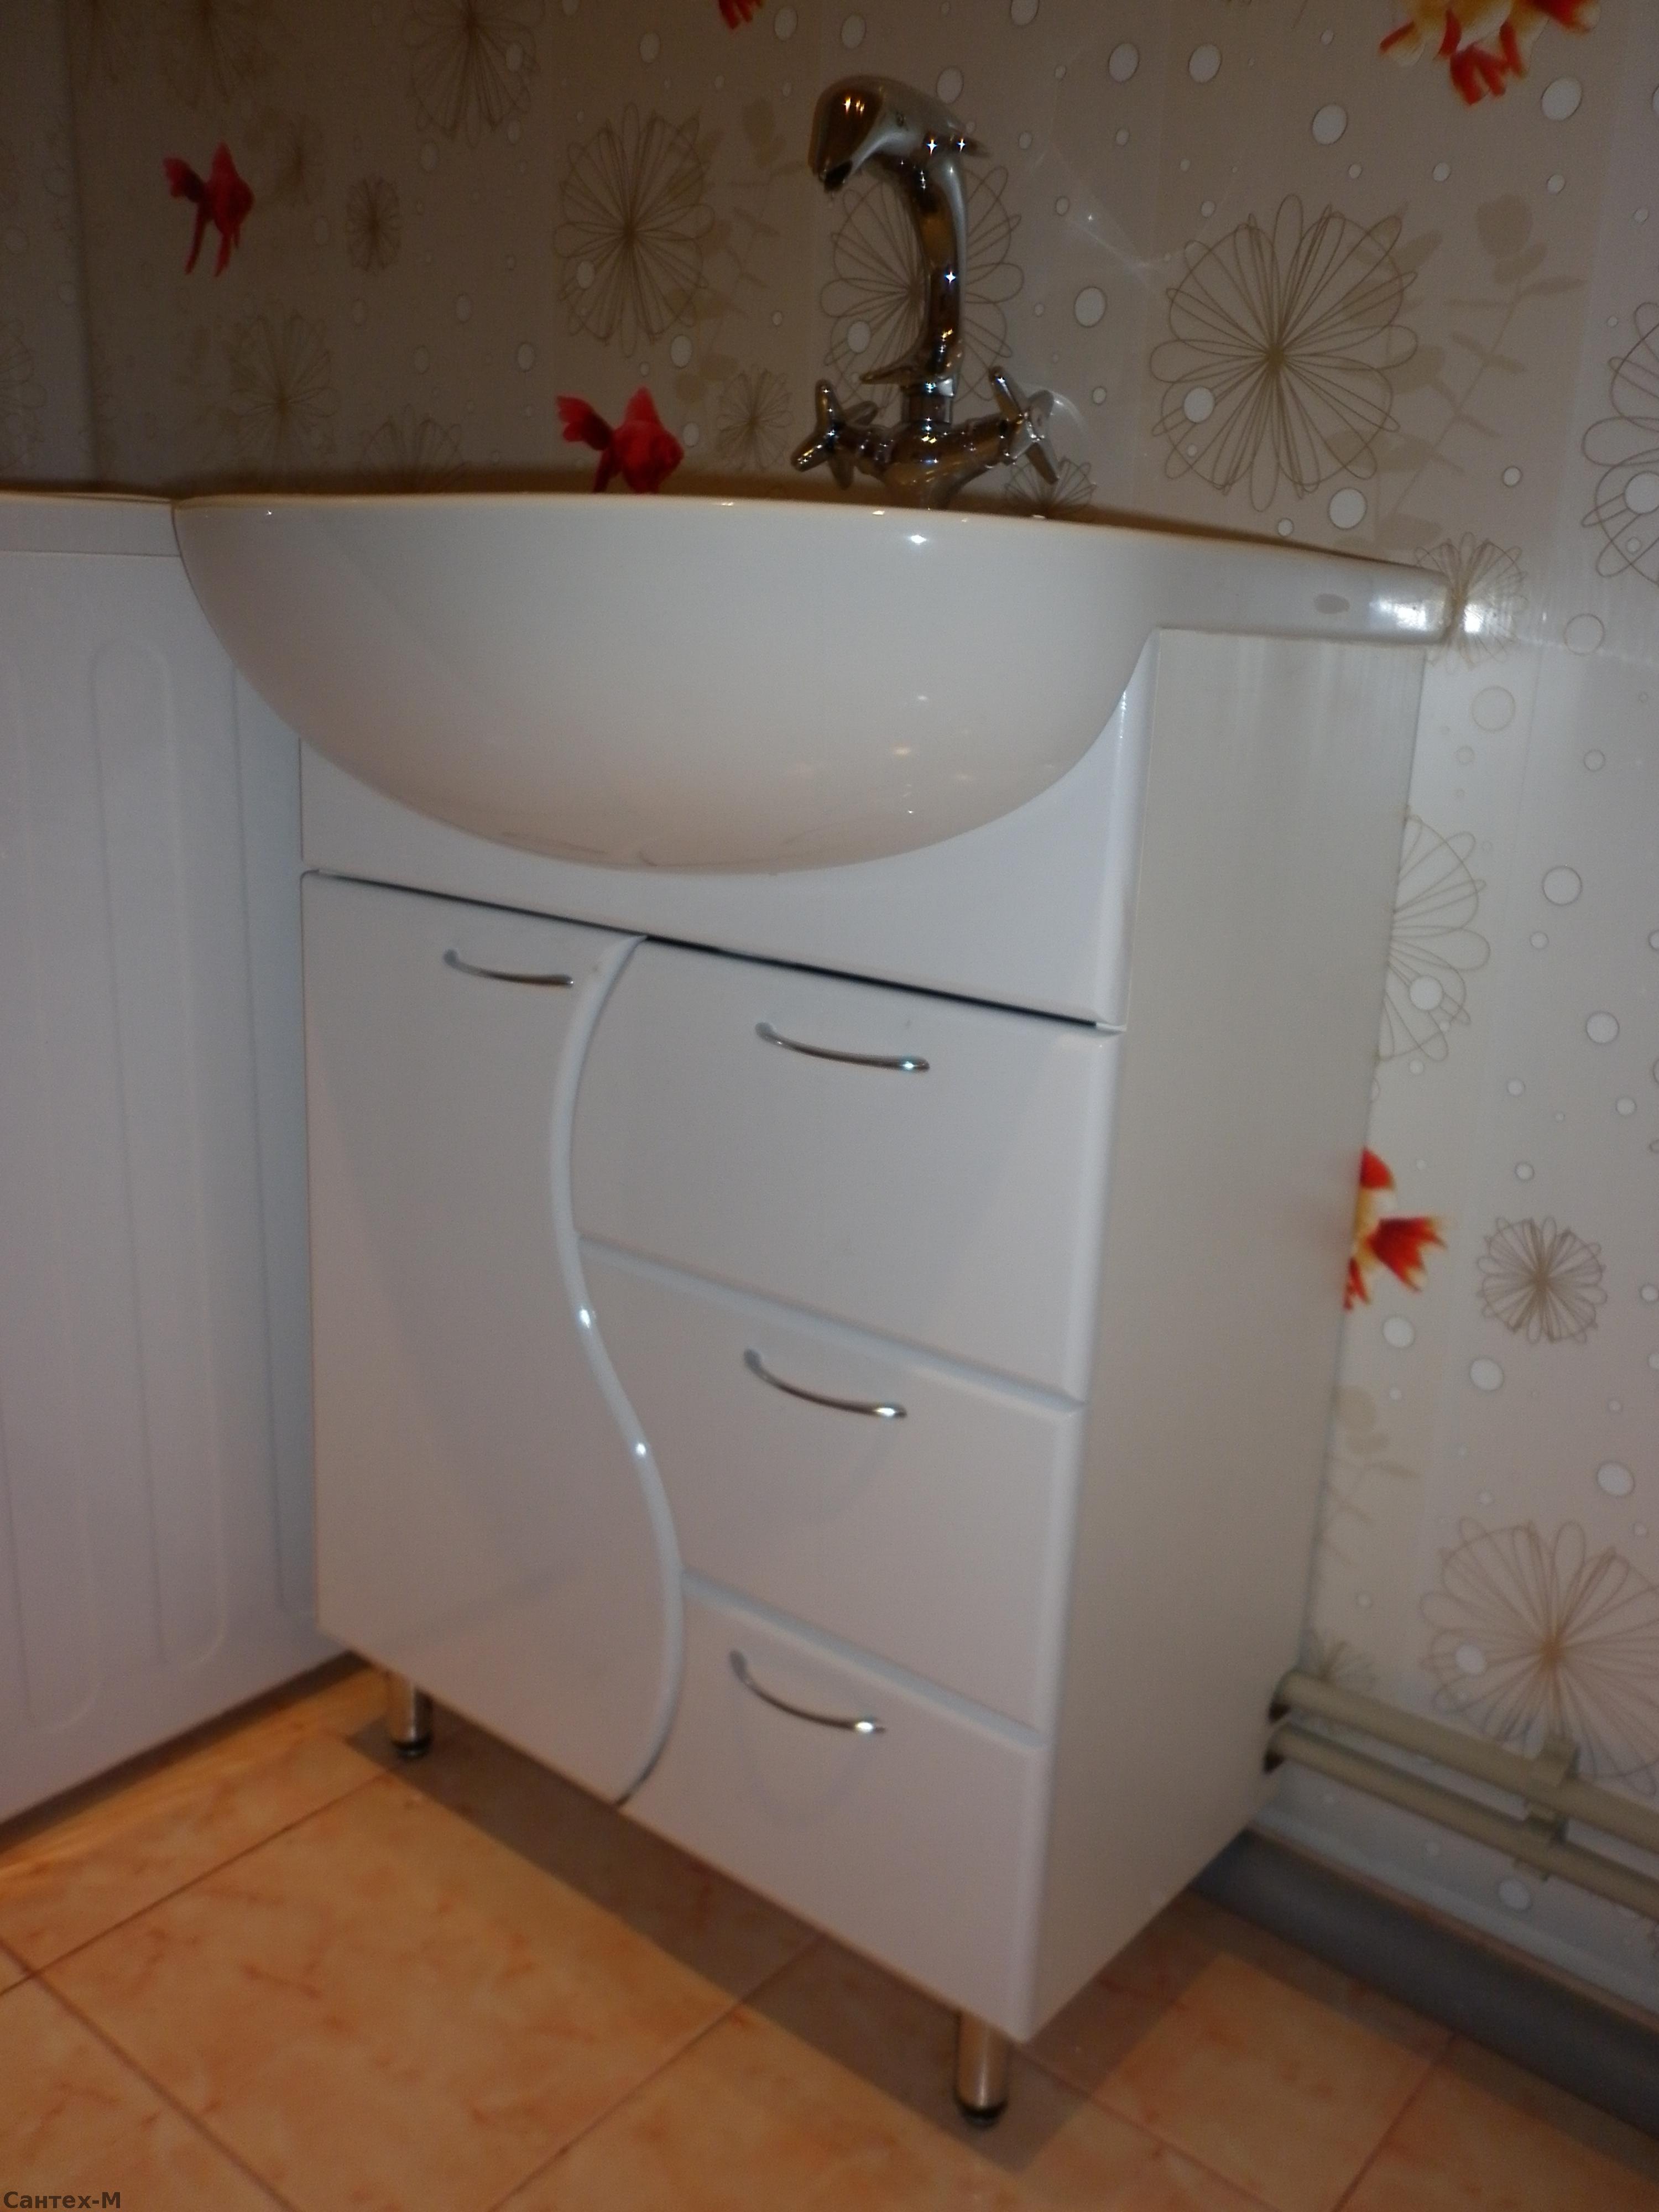
 In the case of installing the washbasin on the cabinet, the process is as simple as possible, since the main load of the sink is taken over by the cabinet, therefore, attachment to the wall can be neglected. In addition, all pipes neatly hide under the sink, and as a result, the bathtub gets a pretty stylish appearance.
It is immediately clear that if the pedestal was purchased disassembled, then it must be assembled according to the scheme, which, as a rule, is included in the kit. But this is not about that now, but about how to put a sink on an already assembled cabinet. By the way, the washbasin can be recessed into the cabinet or stand on it: from the point of view of design, there are many options, but from the point of view of technology, the totality of the work carried out is the same.
 So, first you need to install on the washbasin mixerMoreover, it is recommended to use modern single-lever models, which are more convenient and economical in operation. At this stage it is necessary to use gaskets in order to avoid leaks in the future. It remains only with the washer, gasket and nut to attach the mixer to the underside of the sink. You need to fasten it firmly, but do not overdo it at the same time, since with excessive force, the gasket can become deformed, which will nullify all efforts and lead to leakage.
When the mixer is installed, the siphon mounting turn comes: as a rule, the scheme and sequence of work is presented in detail on the packaging, so even a beginner will cope with the task with the proper approach. True, it is worth considering several nuances. So, it’s better to once again carefully check the installation locations of all rubber seals: the presence of burrs on them can cause a leakage, so in order to avoid further problems they should be removed immediately. Exactly the same test procedure and gaskets. Of course, pay attention to the condition of the gaskets: dried rubber, for example, will not be able to cope with its functions, and it will still have to be replaced soon, so it’s better to immediately find and use normal gaskets, and wear them always so that the cone points in the opposite direction from the nut.
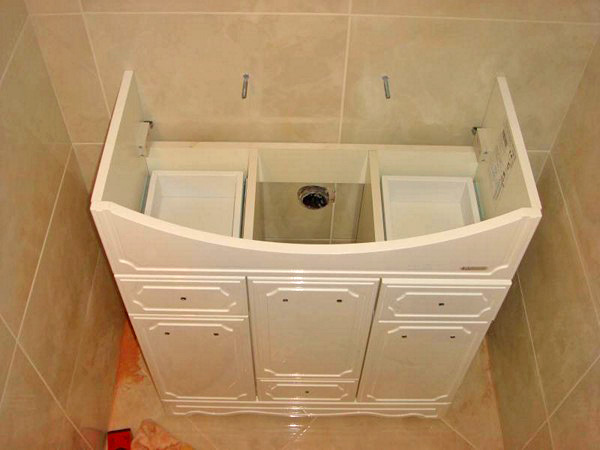 Now you can proceed to the next stagewhen the cabinet moves to the installation site, and the washbasin is tried on the cabinet so that it does not interfere with the connection of all communications. If everything fits well, and you do not need to cut anything out, then we put the sink on the curbstone and proceed to fasten the entire structure to the wall. For this, you can use anchor screws, but such a fastening makes you drill a hole in the tile, and even a washbasin with a reliable support in the form of a pedestal may be unnecessary. That is why it becomes more practical to use silicone, which glues the sink to the wall: the fastening strength is not inferior to the previous method, but after using silicone it is better not to turn on the water for an hour.
Completion - water supply and sewage connection. It is better to start by connecting the water supply to the faucet: this is a simple process, of course, if you have not decided to connect the faucet directly to the water pipes. With the help of union nuts and rubber gaskets, a corrugated metal hose is connected to the mixer and flexible hose. Try not to overtighten the nuts so that they do not accidentally cut out the seals, otherwise you will still have to tinker. If everything went well, then we can proceed to connecting the sewer: you need to connect the corrugated hose from the siphon and the socket of the sewer outlet, and to make this connection tight, gaskets or special cuffs are usually used.
This ends the process, you can turn on the water and check the quality of the work done.
It is worth noting that instead of special, ready-made cabinets, shelves are sometimes used. In this case, the shelf itself is attached to the wall with dowels, but before installing it, it is necessary to cut a hole in it, which corresponds to the size of the washbasin, because it will be inserted into it later. If the washbasin is laid on, it is necessary to provide for an opening of such a size that all the necessary elements of communications can easily fit there. After the shelf is attached to the wall, a sink is inserted into the hole, fixed sealant, connect all communications according to the method described above.
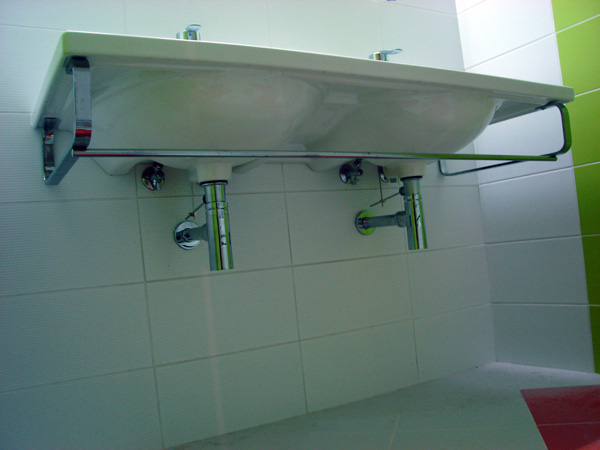
Installing the washbasin on the brackets
 The washbasin on the brackets is one of the most popular types of washbasins, especially in small bathrooms, where a similar technique allows you to visually increase the space. To cope with the installation of this type of sink is easy.
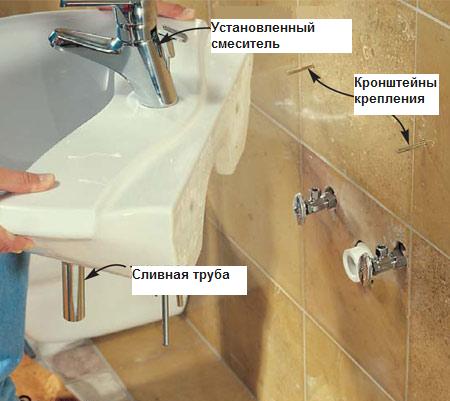
Initially, you need to mark the wall: Using a ruler or hydraulic level, the height required from the floor is measured, and a line is drawn with a pencil - the place of installation of the sink. Now, down from the resulting line, set aside a segment whose length is equal to the width of the side faces of the sink, and also make a mark on the wall. Now we try on the brackets to the sink, and then we apply the resulting system to the wall to check the correctness of the drawn lines.
 After making sure that the marking is done correctly, through the holes for fixing we mark on the wall the places where you will need to mount.Now we drill holes at the designated points, insert plugs or dowels there and fix the brackets screws. Now it remains to install the sink, connect the siphon and install the mixer. As a result, the washbasin should not stagger, and it is better to seal the gap between it and the wall with sealant so that water does not get there.
Installing the sink on a pedestal
 Pedestal sinks are commonly called “tulips” for a similar shape. They are made of faience or porcelain, less often - their glass or artificial stone. If you want to install a similar product in your bathroom, you will need strong walls, since such a sink rests on them and on the floor. That is why you should not install such a product near the wall of drywall - it may not withstand the load. Special requirements are also put forward to the floor: it should be as even as possible so that the sink does not warp on the pedestal. If there is a slight bias, then it can be corrected with silicone gaskets, and if the angle of inclination is very large, then cement alignment is indispensable. To check how stable the design will turn out, it is pre-assembled. At this moment, by the way, it would be nice to mark the location of each of the parts on the floor and wall. When marking, it is better to use a level to be sure that the design will definitely be smooth.
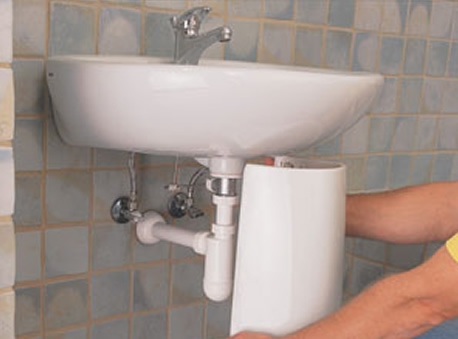 Now let's start drilling holes, which we then lubricate with glue and hammer in the expansion bolt shields there. We install self-tapping screws in the finished holes and put sinks on them. Now we install the pedestal, which should be mounted so that the drain hole is located exactly in its center. Then we put gaskets on the screws and gently screw them to the wall without tightening the nuts so as not to damage the entire structure.
Mixer and siphon installation carried out according to the above schemes. By the way, it will not be amiss to use a overflow hole in the sink, which is also discharged into the sewer.
In conclusion
It is worth starting the self-assembly of the sink only if you are confident in your abilities and have at least minimal experience in such matters. Otherwise, problems may arise either with installation or with further operation in the form of unforeseen emergency situations.
But many craftsmen are able to independently cope with such a task, especially since the whole process is not so complicated. Is it a matter of installing adjustable sinks when pedestal poles with a screw system are used to adjust the height or screw mechanisms attached to the walls. Sinks are sometimes even suspended from ropes or chains to the ceiling: adjusting the height becomes simple, the decorative function is maximally expressed, but installation will already require a professional approach.

 Which washbasin to choose: material, size, type, shape
 Outdoor washbasin for summer house and garden: choose the finished one ...
 7 tips for choosing a bathroom faucet
 A washing machine in a small bathroom: 6 ideas ...
 Choosing a bathroom furniture: 6 useful tips
 Hygienic shower for the toilet: 8 tips for choosing
 9 tips for lighting the bathroom: design, choice ...
 Laminate ceiling. How to fix the laminate to the ceiling
 4 tips for installing a TV in the bedroom
 to choose for the kitchen: material, design") What sink (sink) to choose for the kitchen: material, ...
What sink (sink) to choose for the kitchen: material, ...