Bathroom Repair Steps
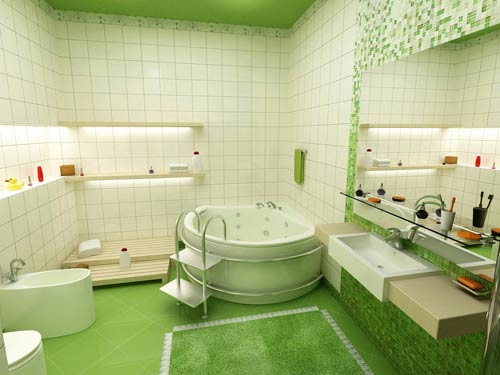
Bathroom - A special room in each apartment, which differs in specific conditions: temperature changes, high humidity, etc. At the same time, it is necessary to place all the necessary plumbing fixtures, equip sockets for all appliances and create a comfortable and cozy environment, and even, as a rule, in a very small space. If repair is foreseen bathroom, it is important to perform all the work in the correct sequence and in a proper way so that the result pleases all households. And for this it is better to immediately think about what should be a bathroom, and decide what kind of work will be required. So, in what stages is the bathroom renovated?
Stage One. Project creation
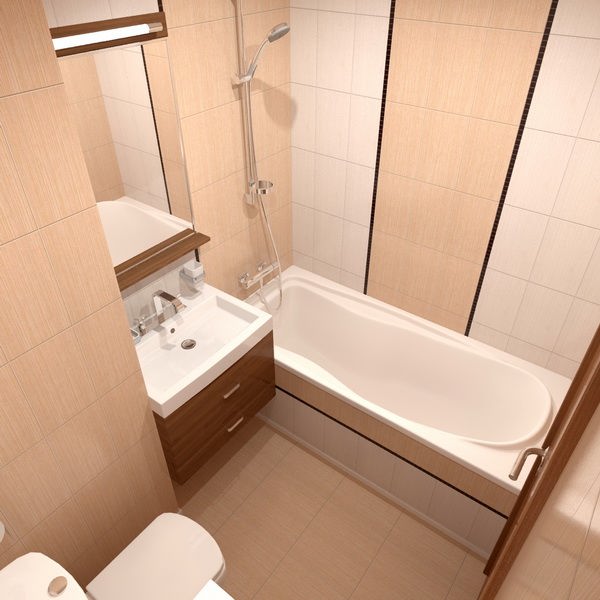
 First you need to decide what result do you expect, and how do you see your bathroom after repair: there should be a redevelopment, you need to completely change all the plumbing or just change the trim a bit. For inspiration, you can view the mass interesting options, which are posted on the Internet, and take a few ideas from ready-made examples or copy individual elements. A little imagination and inspiration, and you can create a unique design.
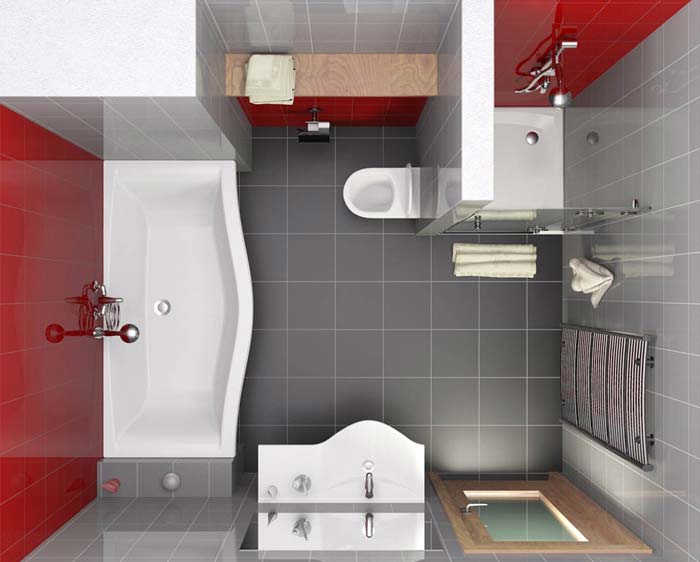
 Once the purpose of the repair is determined, you can proceed to room measurementto calculate how many cladding materials will be needed. At this stage, you can go to construction stores to get acquainted with the range and prices. After all this, you can take on drafting future bathroom. This issue should be taken as seriously as possible, and not just about imagination to imagine where that will be located. It is better to create as detailed and detailed a project as possible, which in the future will help to correctly determine the sequence of work, and ultimately provide maximum convenience for using this room. You should not dwell only on the sketch - it is better to scale each wall of the room with the exact location of all communications and interior items there, indicate everything: from sockets and switches to the location of doors, fixtures and plumbing. Even better, if these drawings also show the locations of the wiring, sewer and water pipes.
 Based on the completed project, you can already start calculate all repair costs, while not forgetting to include in the estimate an article with unforeseen expenses, which, as experience shows, will certainly take place. Well, then you can proceed to the selection and purchase of all materials and equipment. At this stage, it should also be decided how all the work will be performed: on their own or with the help of professionals. Even if you are able to cope with almost everything on your own, it is better to call a specialist to perform plumbing and electrical work, since it is these stages that are considered the most difficult. It is worth noting that when planning repairs in the bathroom, you need to clearly define its timing.
Stage Two. Preparatory work
 When the bathroom project is completely ready, you can proceed directly to the action.But before performing all the assigned work, you need to prepare the premises so that nothing could interfere with the implementation of plans. It will be much easier when it comes to primary housingand then it will just be necessary to clean everything from dirt and dust, and, possibly, slightly level or correct the surface. In other cases, it is necessary to perform dismantling all that will interfere and requires replacement.
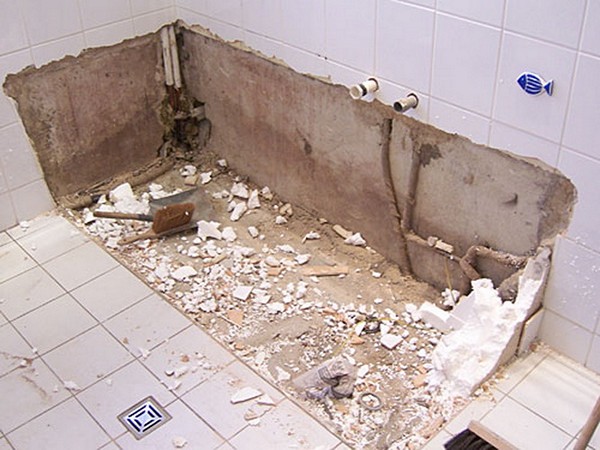
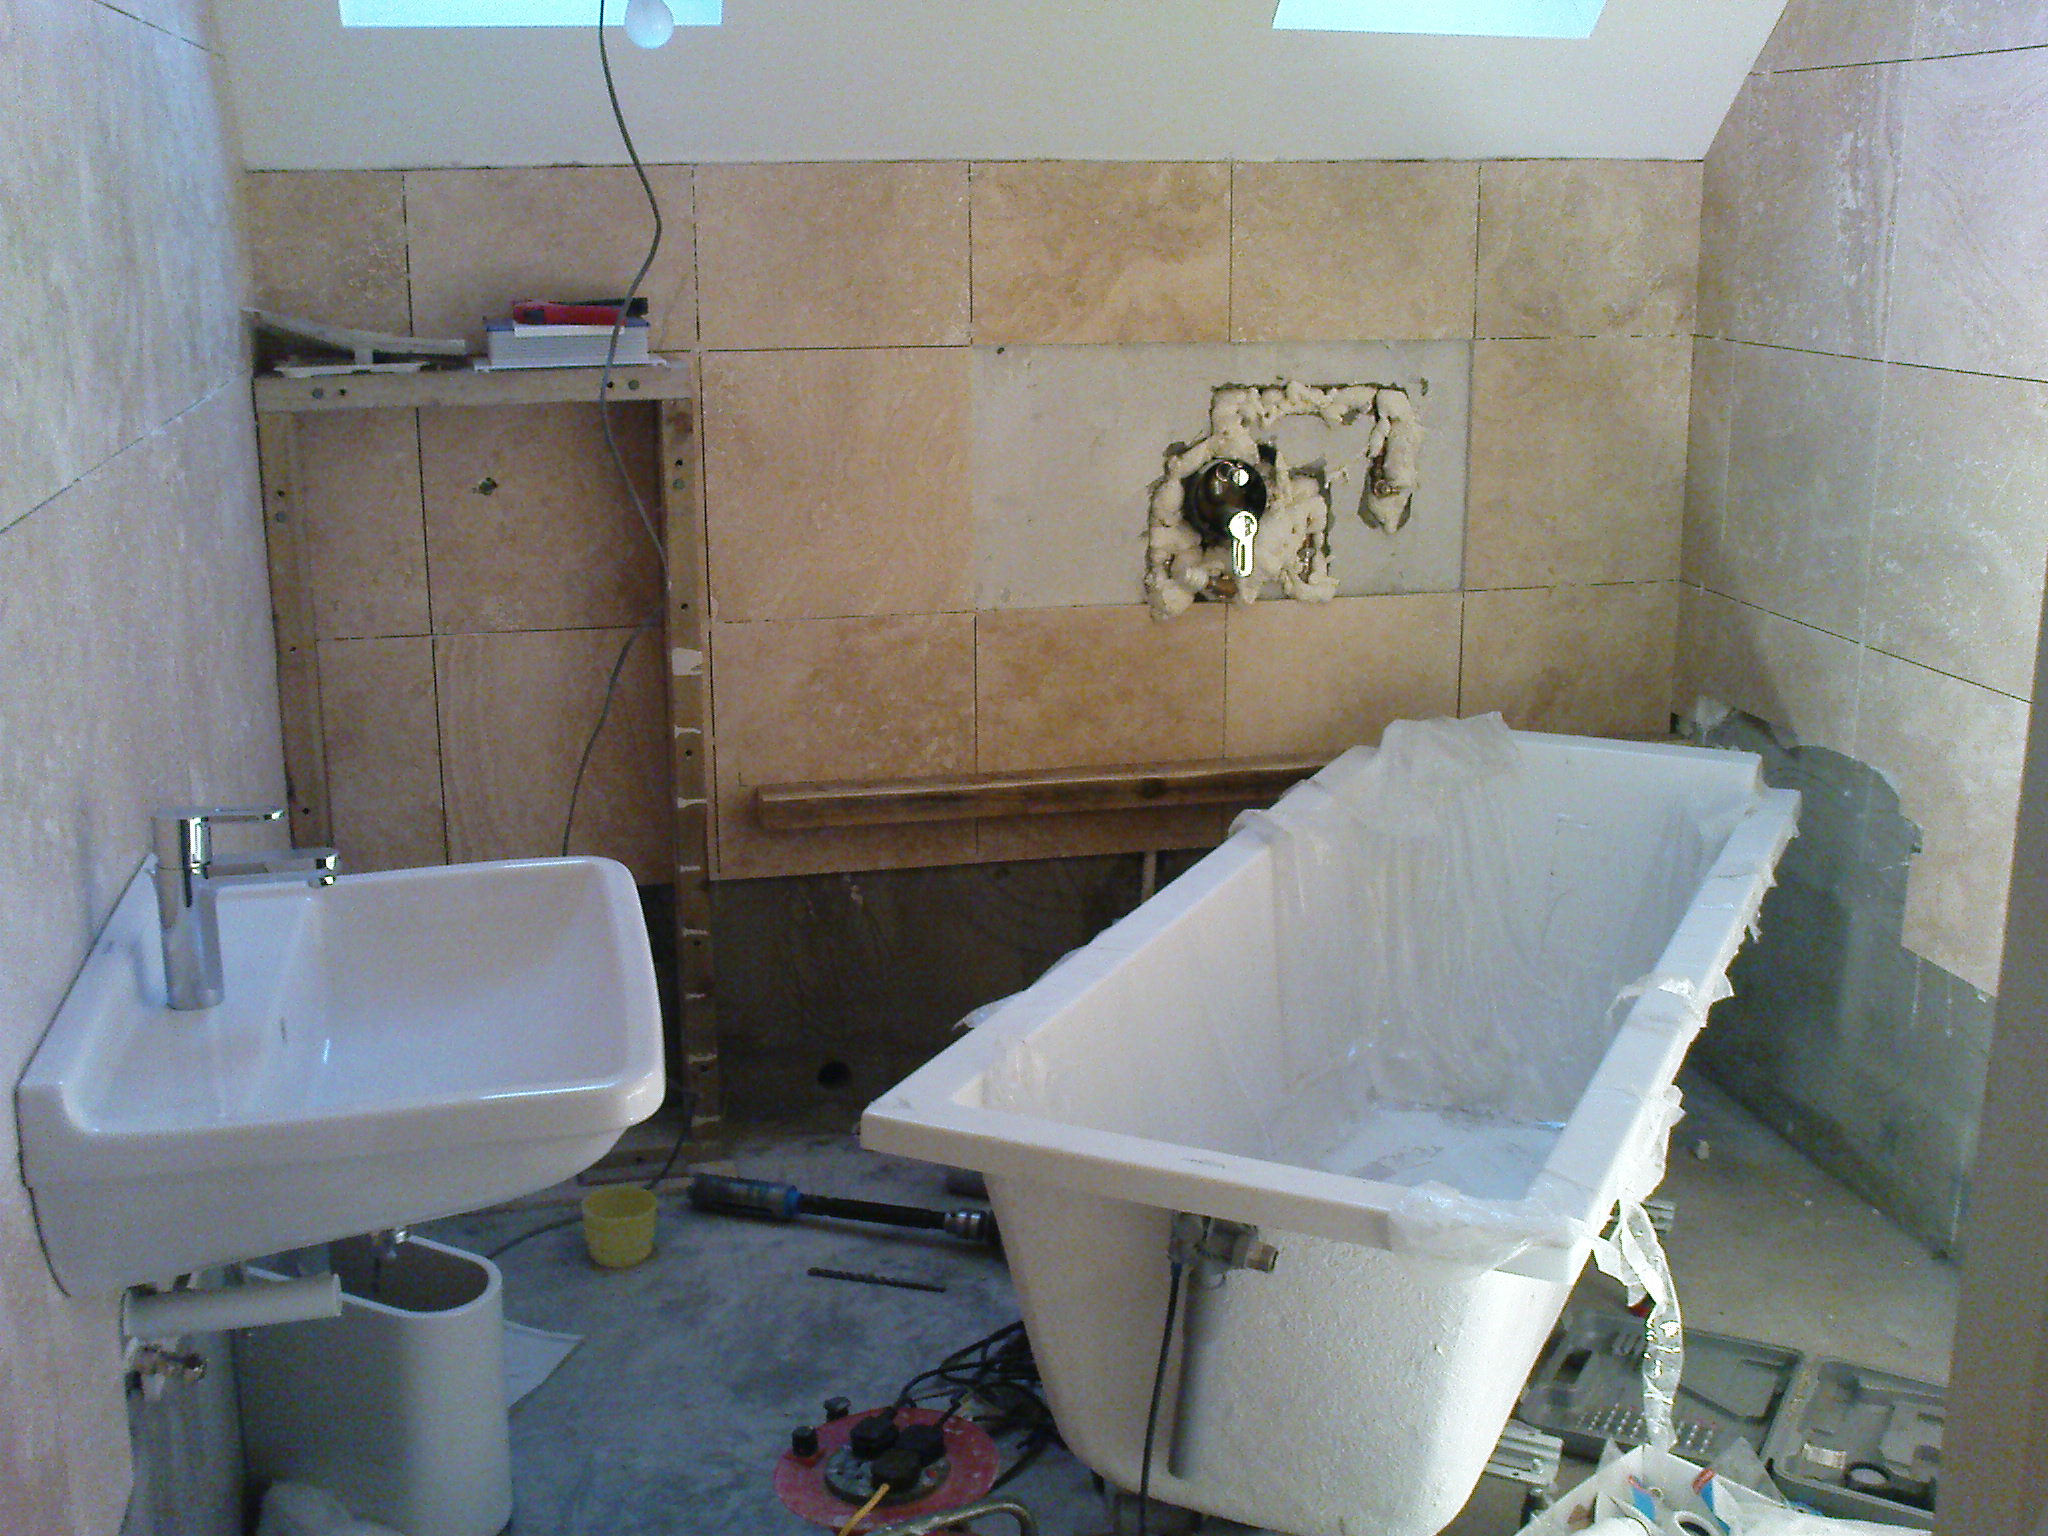 First you need to take out all the furniture, interior and decor items from the bathtub, and then move on to dismantling. This is the most dirty, dusty and noisy stage, without which, unfortunately, it is impossible to do. It all starts with dismantling and removal of the whole old plumbing. At this stage, it is already possible and necessary to shut off water supply and put plugs on sewer pipes. Next is necessary get rid of the elements of the old finishes: First, the ceiling is cleaned of the old coating, then the walls, and at the same time the old pipelines are removed, and then they move to the floor. Experts advise to always remove the old tile to reduce the risk of fungus after repair.
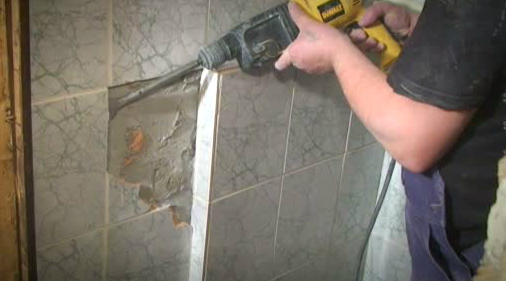
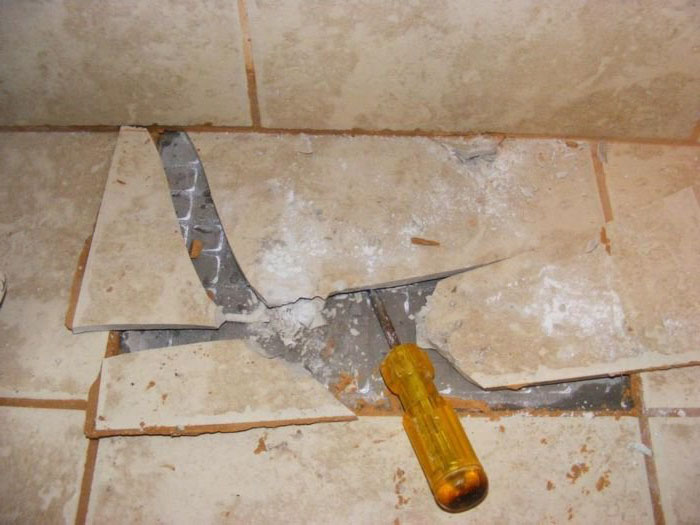 If for wall cladding panels were used, it is enough to unfasten the locks and dismantle the frame. In the case of the tile it will be a little more complicated: it must be chipped off, but be careful not to damage the surface of the wall. In addition, you will also need to clean the wall from glue so that the new coating holds well and firmly.
When the ceiling and walls are cleaned, proceed to dismantling the floor. Tiles must be removed according to the same principle as from the walls. But sometimes only such works can be few: if the old screed in unsatisfactory condition or after installing a new coating, the floor in the bathroom will be much higher than in the next room, then you will have to dismantle it. If raising the new floor somewhere by 1.5 cm does not cause inconvenience and discomfort for family members, and the old floor is still very well kept, then the new floor can be performed directly on it.
 Now you can dismantle the remaining piping and sewer pipes and remove the doors. In principle, after this it is already possible to proceed to the repair work itself, or you can also do redevelopment. If there is a need and desire to combine a bathroom with a toilet, or expand the room due to pantries, then to everything else is added the need to eliminate partitions. Such work can only be done after receiving permits in the relevant authorities.
Stage Three. Repairs
Now you can proceed directly to the repair work. This is the most responsible and voluminous area of work, and the quality of repair in the bathroom depends on a careful approach to it.
Pipe Replacement
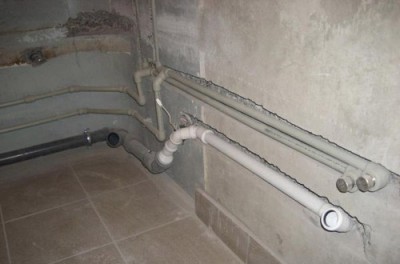
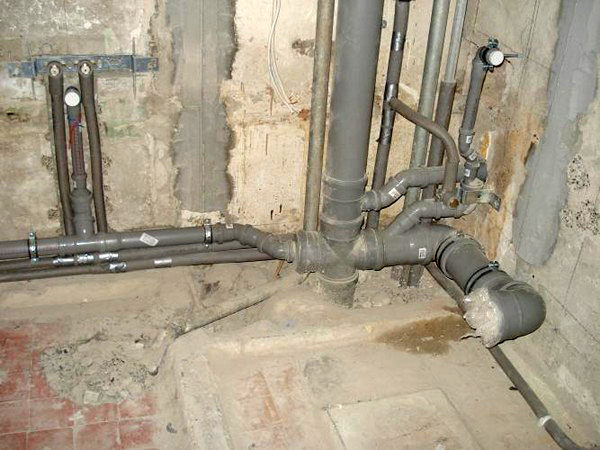 Repair work in the bathroom begins with the installation of new pipes and, possibly, even the modernization of the water supply system. So, first you need to give the risers the desired configuration, then make the wiring to the water intake points, and if necessary and want to install a filter system and emergency shut-off valves.
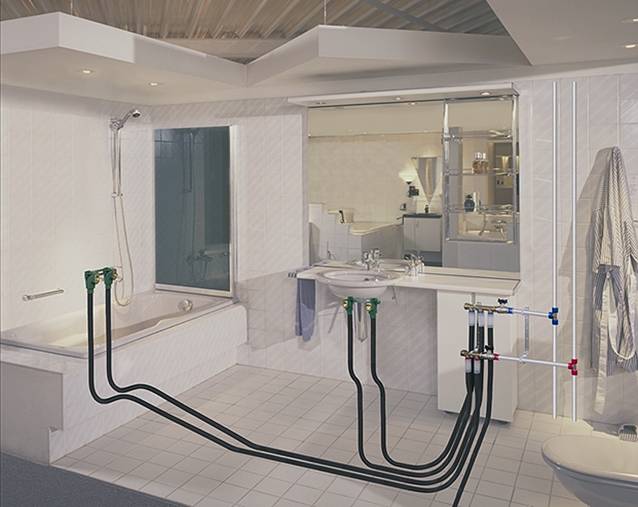
Pipe bred from the riser to the points of consumption, and this is a shower or bath, sink, toilet, washing machine and water heater, if any are present in a particular case. It is recommended to mix a pipe with hot water above a pipe with cold water. Also better to use collector connection systemto ensure further comfort when using all plumbing items and equipment connected to the water supply. The collector system assumes that each point has its own separate pipe, and this allows you to compensate for the pressure difference. True, it is necessary to increase the cross section of the supply pipe, but this is the only minus of this approach.
 Collector - A special device that helps distribute water to several pipes. It is usually installed on a pipe with cold water, but the option with its installation on a hot water pipe is not ruled out. To understand how much more comfortable your bathroom with a collector will become, it is worth remembering only one case. Previously, water was supplied to all devices through only one pipe, and this method, by the way, is used now. If there is a washing machine in the bathroom that starts to draw water just while taking a shower, this is not very pleasant. And if a collector is installed, then you will not feel any discomfort, since the water to the washer and the shower fits through different pipes.
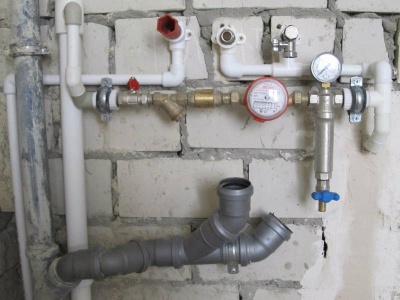 This step also includes pressure regulator installation - a device that will protect your pipes from rupture if the pressure in the system starts to rise. You can also optionally to establish water filterswater meter or other necessary devices to increase comfort.
 Some advise to hide water pipes in the floor or walls: in this case they will not take up space and spoil the interior. But to do this is still undesirable, since in the event of an accident it will be very difficult to get to them. The compromise option is hide pipes in the box, but provide hatches that provide easy and quick access.
Sewer pipes should be located so that water drains quickly and unhindered. A bias towards the sewer outlet is mandatory, and the fewer the bends and bends in the sewer pipe, the better the system will function.
Rough finish
 Now proceed to the rough finish to prepare all surfaces for laying decorative materials. The walls after dismantling the tiles may be slightly uneven, have holes, cracks, etc. To get a flat surfacerecommended to use plaster mixesdesigned for wet rooms. Of course it is possible, align the walls sheets of moisture-proof drywall, but for this you will need to mount a crate that will take a few centimeters of space, and in a small bathroom this option is unacceptable. You need to try to achieve a perfectly flat wall surface: often for wall cladding used tile, which has a perfect geometric shape, and all the roughnesses of the original surface will ultimately be very striking, and, moreover, can lead to a decrease in the life of the cladding.
 As for the floorthen it also needs careful alignment. If the screed has not been removed, then optimal results can be achieved using thin layer of bulk floor. Otherwise, you will need to make a cement-sand screed. In addition, you must not forget about the layer. waterproofing, which will protect the floors of the building from destructive moisture, and in case of leakage will protect neighboring apartments. It is better to apply a waterproofing layer not only on the floor, but also on the walls to a level of about 20 cm.
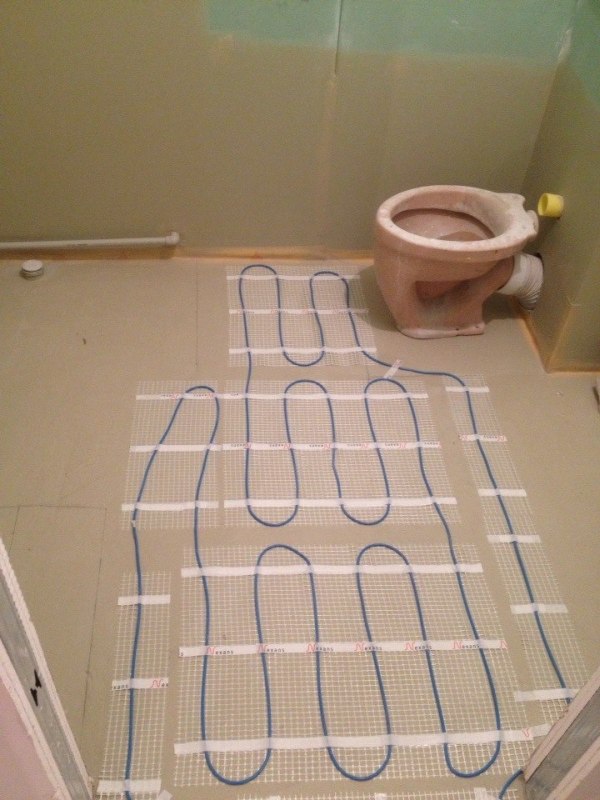 If this is conceived by a design project, then you can to equip warm floor. All work on its arrangement is also carried out at this stage. Specialists advise to equip bathrooms electric underfloor heating: in this case, the cable is laid under the screed, but you can turn on the entire system only after the screed has completely dried, and this is at least 1 month. Otherwise, a short circuit may occur. The underfloor heating system will make the bathroom as comfortable as possible, especially in winter, and you will be able to get rid of high humidity and condensation. It is only necessary to lay the warm floor only in open areas, so it is so important to think over the location of furniture, appliances and sanitary ware in advance.
Installation of electrical wiring
 We all understand the specifics of such a room as a bathroom.Due to the fact that there is constantly high humidity, the requirements for electrical wiring are especially stringent. Replacements required in first electrical wiring in old houses, because she is not able to cope with the amount of equipment that is present in a modern bathroom, and this is a washing machine, water heater and other small devices. If we are talking about repairs in a new building, then this stage can be safely skipped.
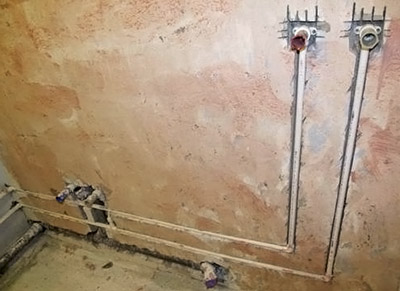
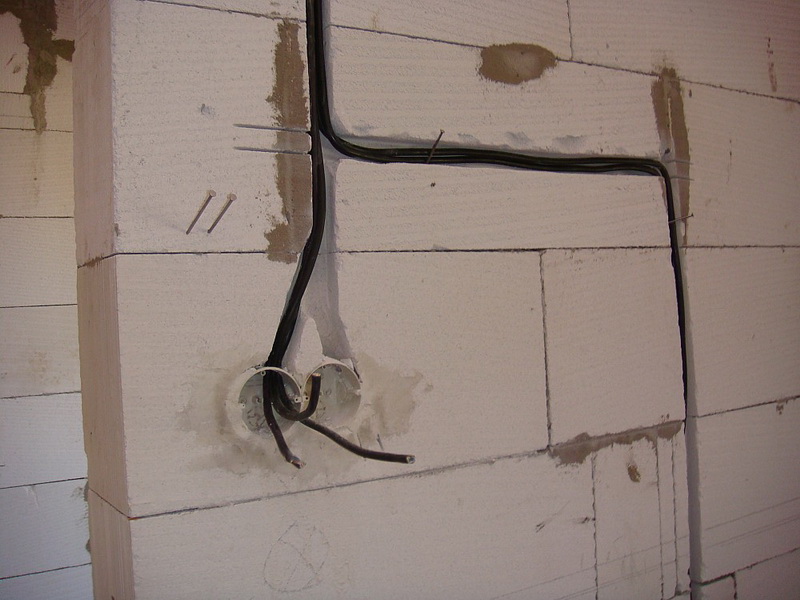
It is better to place the cable in special plastic pipes, because in this case it will simply be replaced with a new one in the future. Given the increased humidity in the room, it is better lay wiring in strobesthat will be better and for aesthetic reasons. It is important to note that for some electrical appliances you need to pull a separate cable from visor, and this is primarily true of the washing machine.
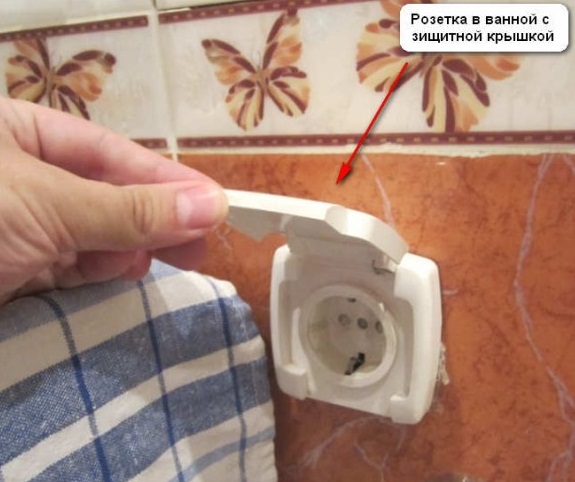
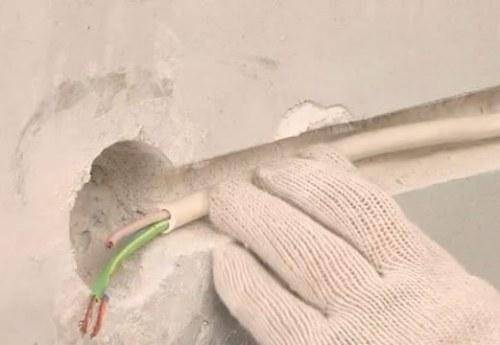 If you stayed in the walls elements of old wiringthen they must be carefully isolated. Then they proceed to the preparation of the strobe, in which the cable will lie in the corrugated tube. The wire is laid strictly in vertical or horizontal lines, at a height of at least 15-20 cm from the floor. To know exactly how best to lay the wiring, of course, you need to again turn to the project, which gives information about finding all the lighting fixtures and outlets. By the way, the switches are recommended to be taken outside the bathroom, and the sockets should be arranged as far away as possible from water sources, and the use of protected sockets with a lid.
It is worth noting the fact that today most often copper wires are used, and before, aluminum was popular. If there are wires of this type in the apartment, then it is not recommended to directly connect them with copper, it is better to use adapters. Well, of course, it is also impossible to do without grounding.
Finish
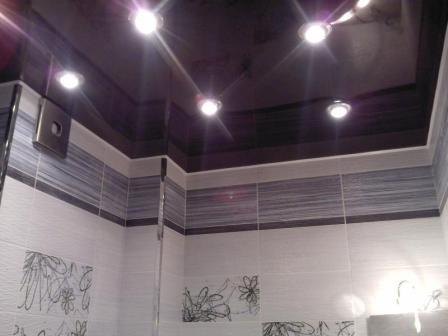 Finishing is recommended to start with the ceilingso as not to stain the wall covering in the future, although another sequence is not excluded. Among the most popular ceiling finishes – mirror slabs, suspended or suspended ceilings, the use of drywall and painting. It all depends on the idea and budget.
Under suspended and tension structures the surface can be especially not prepared and not leveled, except when the plaster is already falling away. Stretch ceilings are beautiful, aesthetically pleasing, they allow you to expand the space, they are not afraid of moisture, but as a result of condensation can mold development site.
For painting the ceiling needs to be leveled, plastered and putty to make the surface look perfect. The best option in this case is water-dispersion paint, which is intended for rooms with high humidity. If your neighbors suddenly flood you, then traces will remain on such a ceiling, and the structure itself will not be able to protect, but condensate will not accumulate on it.
 Followed by wall decorationso as not to stain the floor. Most often for wall decoration choose ceramic tile, whose merits in this case are undeniable. Plaster and putty are applied to previously prepared walls, primerupon drying which proceed to tile installation. In this case, tile glue is used, and installation begins from a prominent angle, so that in the most noticeable places the tile is solid, and behind the lockers and other objects you can use cut pieces. The joints between the tiles are filled grouting, which can be in the color of the tile or, conversely, contrast with it. There can be a lot of tile options, you can combine different types with each other, use mirror inserts that can slightly expand a small bathroom.
Stack in the same way tile on the floor, but for the floor it is better to stop the choice on the most non-slip surface. Among the alternatives to tiling - A waterproof laminate that will surely be non-slip.Together with it, you can use liquid wallpaper as a wall covering.
Installation of sockets and switches
 When the finish is ready, you can proceed to the installation of sockets and switches in pre-prepared places. This step also includes installation of some equipmentincluding water heater. It may be needed not only by residents of private houses, but also by many residents of apartment buildings, in which summer hot water outages are often practiced. To save space, you can choose not a storage, but a flow-through water heater.
It is also necessary to take care of ventilation. This can be an automatic fan, which will itself monitor the level of humidity and temperature, turning on and off itself. If you yourself will regulate its work, then a separate switch is provided for it, and combining the inclusion of light and ventilation is not always convenient and justified. At this stage, establish sockets, switches, all necessary lighting devices.
Plumbing Installation
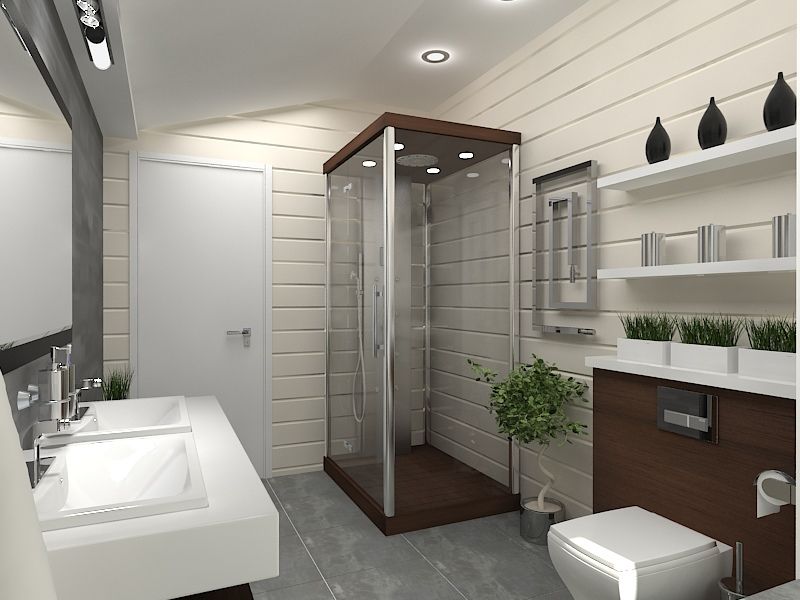
 This is the stage for which most often the repair in the bathroom begins. The choice of plumbing is now impressive, so everyone can choose what suits their size, appearance and functionality. Alternative to habitual cast iron bath may become an acrylic option: these products differ in a wide variety of forms and wider functionality. If there is not much space in the bathroom, then the choice is better to stop at shower stall: in shops you can find both the simplest and multifunctional models with hydromassage, sauna, etc. Design - for every taste and budget.
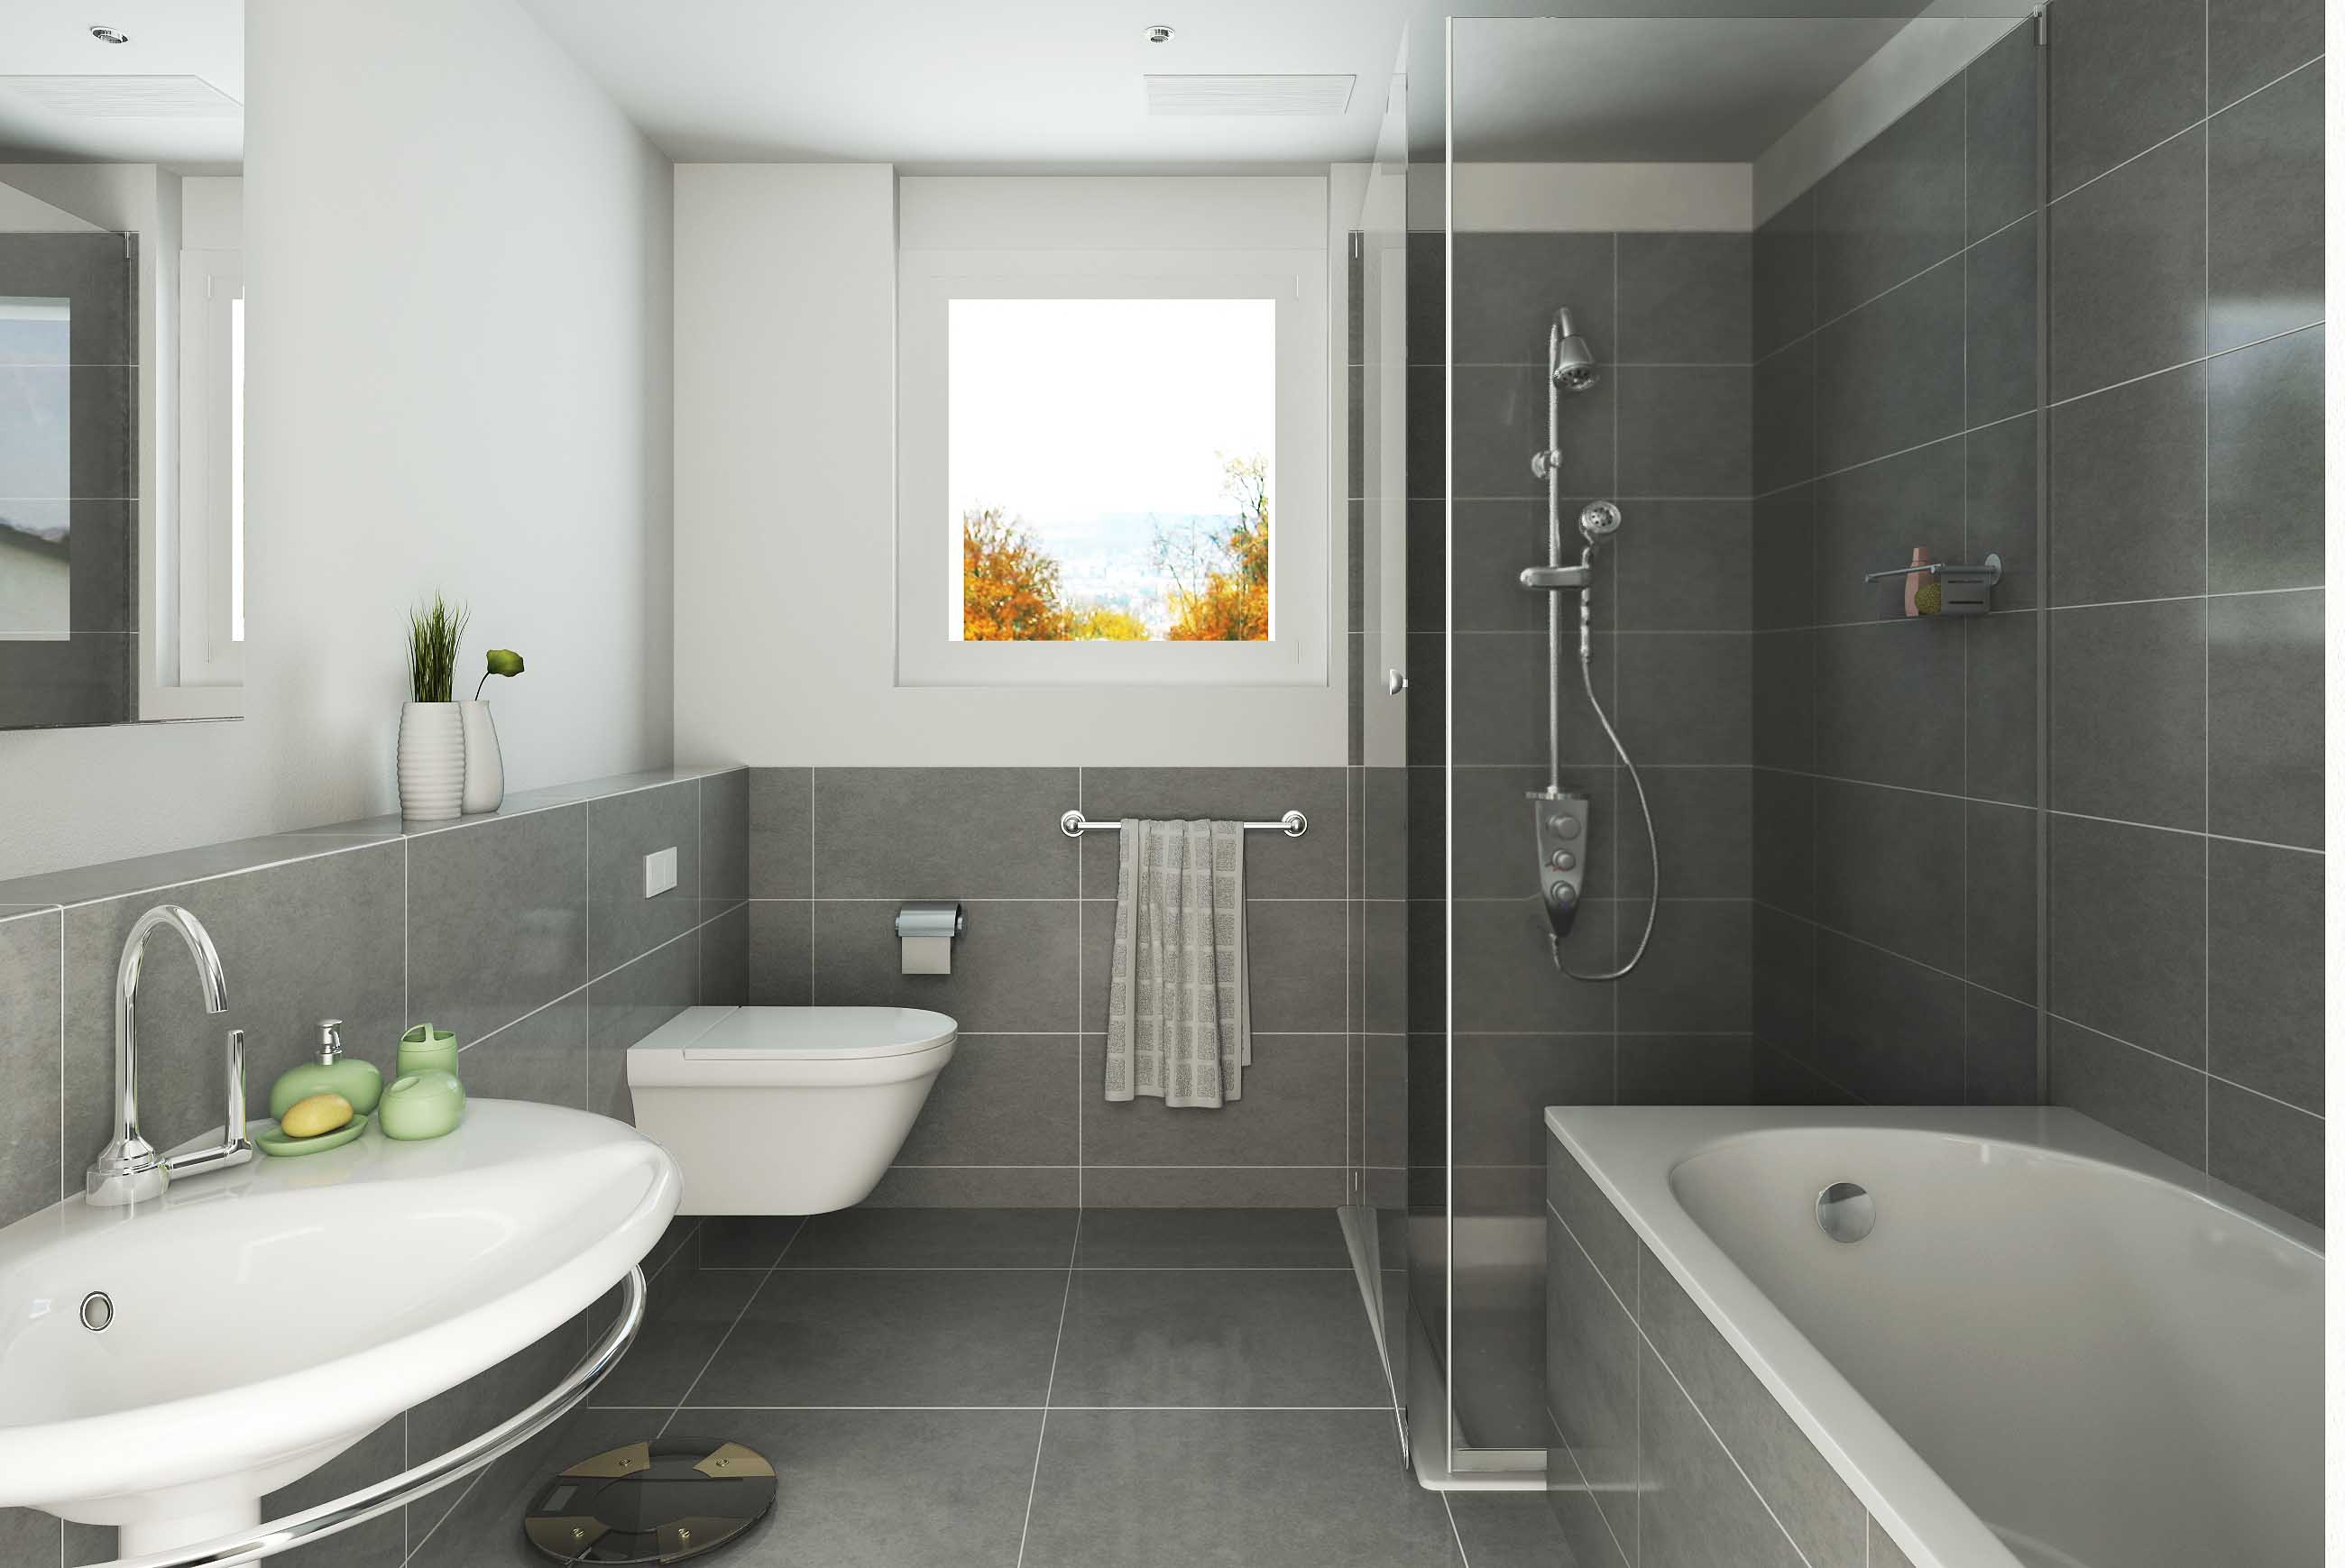 The sink can also be selected absolutely any: on a pedestal, with a pedestal, hanging or built-in. It remains only to choose the toilet and, if there is space, a bidet. Also at this stage you can to establish heated towel rail, which will be both a source of heat and a place for drying linen and towels. It all ends with installation mixers and connection to the water supply and sewerage.
Door installation and decor
 Now turn for new door. It is installed at the finish of all work, so as not to accidentally scratch the plumbing. The door should fit well into the design of the bathroom, delay the sounds, be devoid of completely transparent elements.
At the end of all work, it remains only to put all necessary furniture itemshang a mirror pictures curtains, arrange flowers, hang towels, put in place accessories, which in the bathroom perform not only the role of decoration, but also have a certain function.
In conclusion
Compilation bathroom design project and the breakdown of all repair work into phases helps to better imagine everything that needs to be done. Following a clear sequence, the risk of forgetting to do something is reduced, and the quality of the work is improving. Moreover, strict adherence to the stages helps to meet the deadlines, therefore, before starting repairs in the bathroom, it is better to spend some time thinking about the project and the sequence of work.

 9 tips for lighting the bathroom: design, choice ...
 TOP 9 tips for repairing an apartment in a new building
 Do-it-yourself bathroom waterproofing
 Hallway repair steps
 Bedroom Repair Steps
 Where does the repair in the apartment begin?
 10 tips for remodeling and combining a bathroom
 Stages of repairing a children's room
 7 tips for redecorating the bathroom and toilet
 Laminate ceiling. How to fix the laminate to the ceiling