Stages of repairing the living room
Living room the apartment takes on many functions, and, above all, this is the reception of guests and home gatherings. I want to spend my free time in a cozy, stylish and comfortable room, so sooner or later thoughts about repair come in. Depending on the condition of the room and what you want to make of it, you will need a different set of work. Important in advance decide what needs to be done, and then decide whether it will be possible do the work yourself or for some of them it is better to call a specialist. When it comes to overhauls, it is especially important to outline sequence of stages of work and stick to it clearly.
Stage number 1. Project development
Before even starting dismantling, it is necessary to clearly and to the smallest detail know what the living room should be in the end. Important think over an interior solution, choose a style, decide what furniture and what size will be used, where will the TV, air conditioning and other items of equipment be placed. It is also necessary to decide what finishing materials will be used, whether replacement of windows and of doorsinstallation underfloor heating systems.
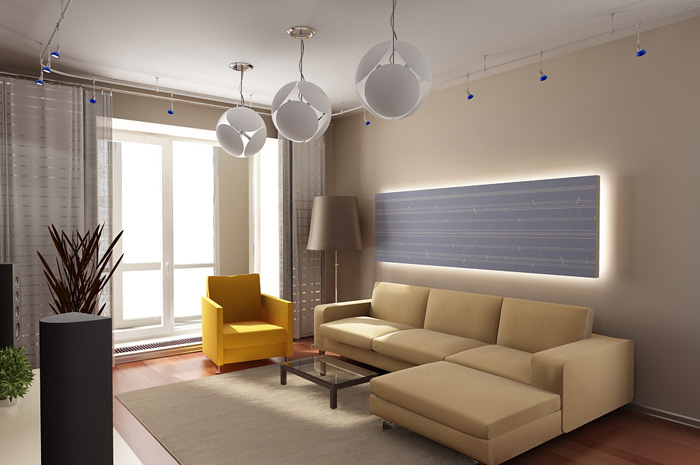
It is especially important to think over location lighting fixturessockets and switches, and this can only be done after you have decided where the main functional areas will be located and furniture items. It is better to express your vision of the future bedroom interior in a visual project. To do this, it is not necessary to have an education and experience as a designer. Today for the computer and mobile gadgets there are a lot of programs that are easy to master, but in the end you can get a three-dimensional model of the future living room.
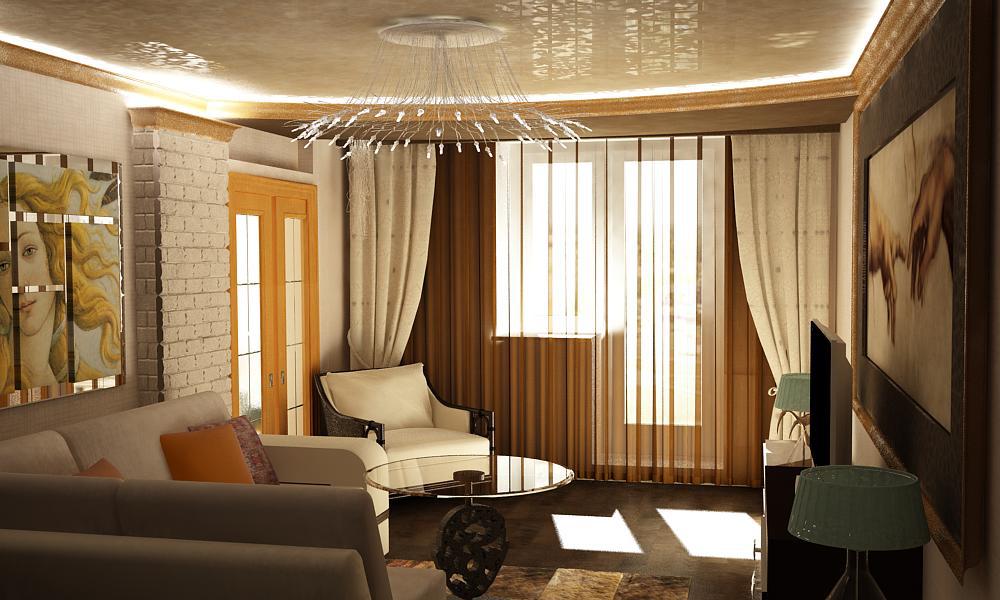
To the owners small living rooms you should be extremely careful, since literally every centimeter counts, and the space needs to be organized correctly, carefully measuring every piece of furniture. If you are not confident in your abilities, then it is better, of course, to resort to the help of designers, having discussed all your preferences with a specialist.

Stage number 2. Preparatory work
Depending on what kind of repair you plan to do, cosmetic or capital, the set of necessary work will be different. If redecorating involves repainting surfaces, replacing windows, doors and furniture, then overhauling also involves remodeling electrical wiring, the construction or dismantling of partitions.
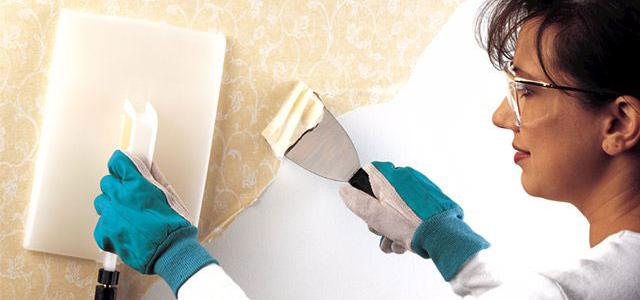
In any case, you need to start with the fact that remove all furniture from the living room. After that proceed to dismantling. The walls are often trimmed in the halls. wallpaperwhich are easy to shoot. If difficulties arise when working with a spatula, the coating can be slightly moistened. It is better to remove paint from the walls with the help of special solvents, but these works must be carried out with extreme caution. As for the flooring, it is not difficult to remove it, if it comes to linoleum, laminate flooring or parquet. By the way, if the parquet is still in good condition and fits into the future design of the living room, then it is better to leave it, and just cover it for the duration of the repair work. Then you can loop, and eventually get actually a new floor covering. If the floor was covered tiled, and this is a rather rare solution for the living room, you can’t always cope on your own, and you may have to turn to specialists.
If your design project provides partitioningarches or vice versa demolition of existingjoining the hall with loggia or balcony, then all work is performed at this stage. If you plan to demolish any elements, it is better to get permission from the relevant services in advance.
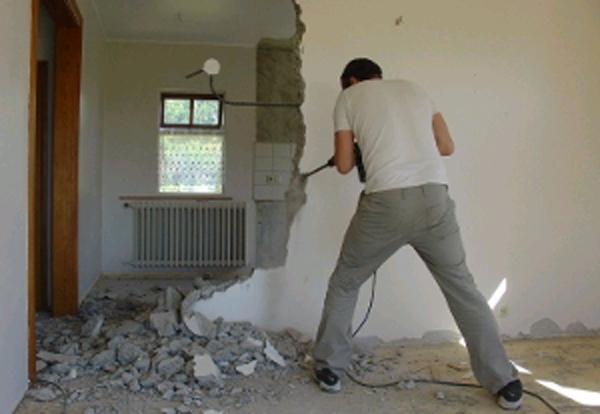
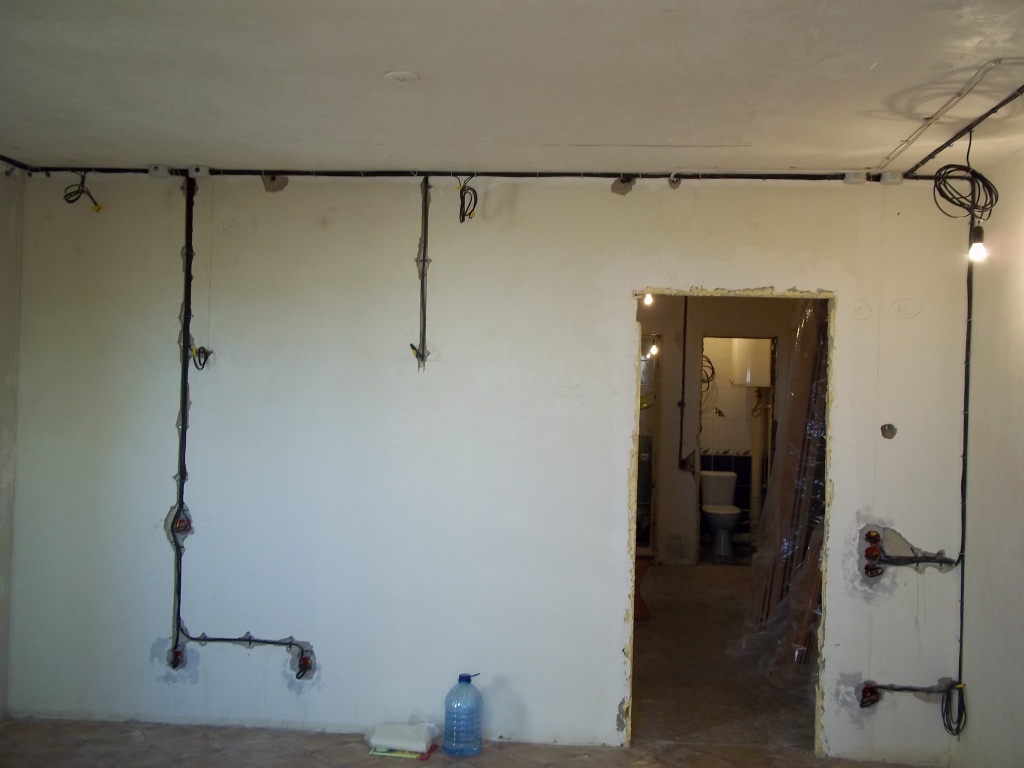
Also at the preparation stage they recommend deal with wiring. So if planned her replacement, then you can’t do without wall chipping and laying electric cables. Strobes provide not only greater safety, but also aesthetics in the final result, because the surface of the walls can be easily leveled. In order not to make mistakes, you need to be guided by a drafted project, which will indicate all the points of lighting and connecting electrical appliances, otherwise then you can not do without extension cords and wires hanging from everywhere. The inner part of sockets and switches is installed immediately and closed, and after carrying out all the finishing work, decorative linings are installed.
Stage number 3. Rough finish
Before applying the finish surface of walls, ceiling and gender must be carefully aligned and tidy up. Better to start from the walls. You can align them with plaster mix: it's better apply it on the entire surface, but with minor irregularities and the presence of only a few cracks, it is allowed, according to some experts, the local use of plaster. Usually used gypsum plasters, but it should be borne in mind that the layer of material will dry for a relatively long time, and at this time it is not worthwhile to proceed with further wall decoration. So, a layer of 5-6 cm will dry out after 15-20 days. It is better to apply the plaster in one layer, but if you need to perform several, you must definitely wait until the previous one has completely dried. Since the plastering process is dirty and lengthy, some prefer to go the simpler way - drywall wall alignment. This solution is suitable for living rooms with extremely uneven walls and with sufficient area, because drywall together with the frame takes up usable space.
Gypsum mortar is also used for alignment of defects and cracks on the ceiling. After applying and drying, the surface can be cleaned and primed. However, the preparation of the ceiling may not be treated so carefully if you plan to use suspended or stretch ceiling. Such structures are mounted already at the final stage of repair, when a finishing floor finish and the walls.
Experts advise after plastering to produce installation of heating systemexcept directly radiators themselves, and external air conditioning unit with a drainage system and air conditioning, if you plan to remodel the heating system and install air conditioning.
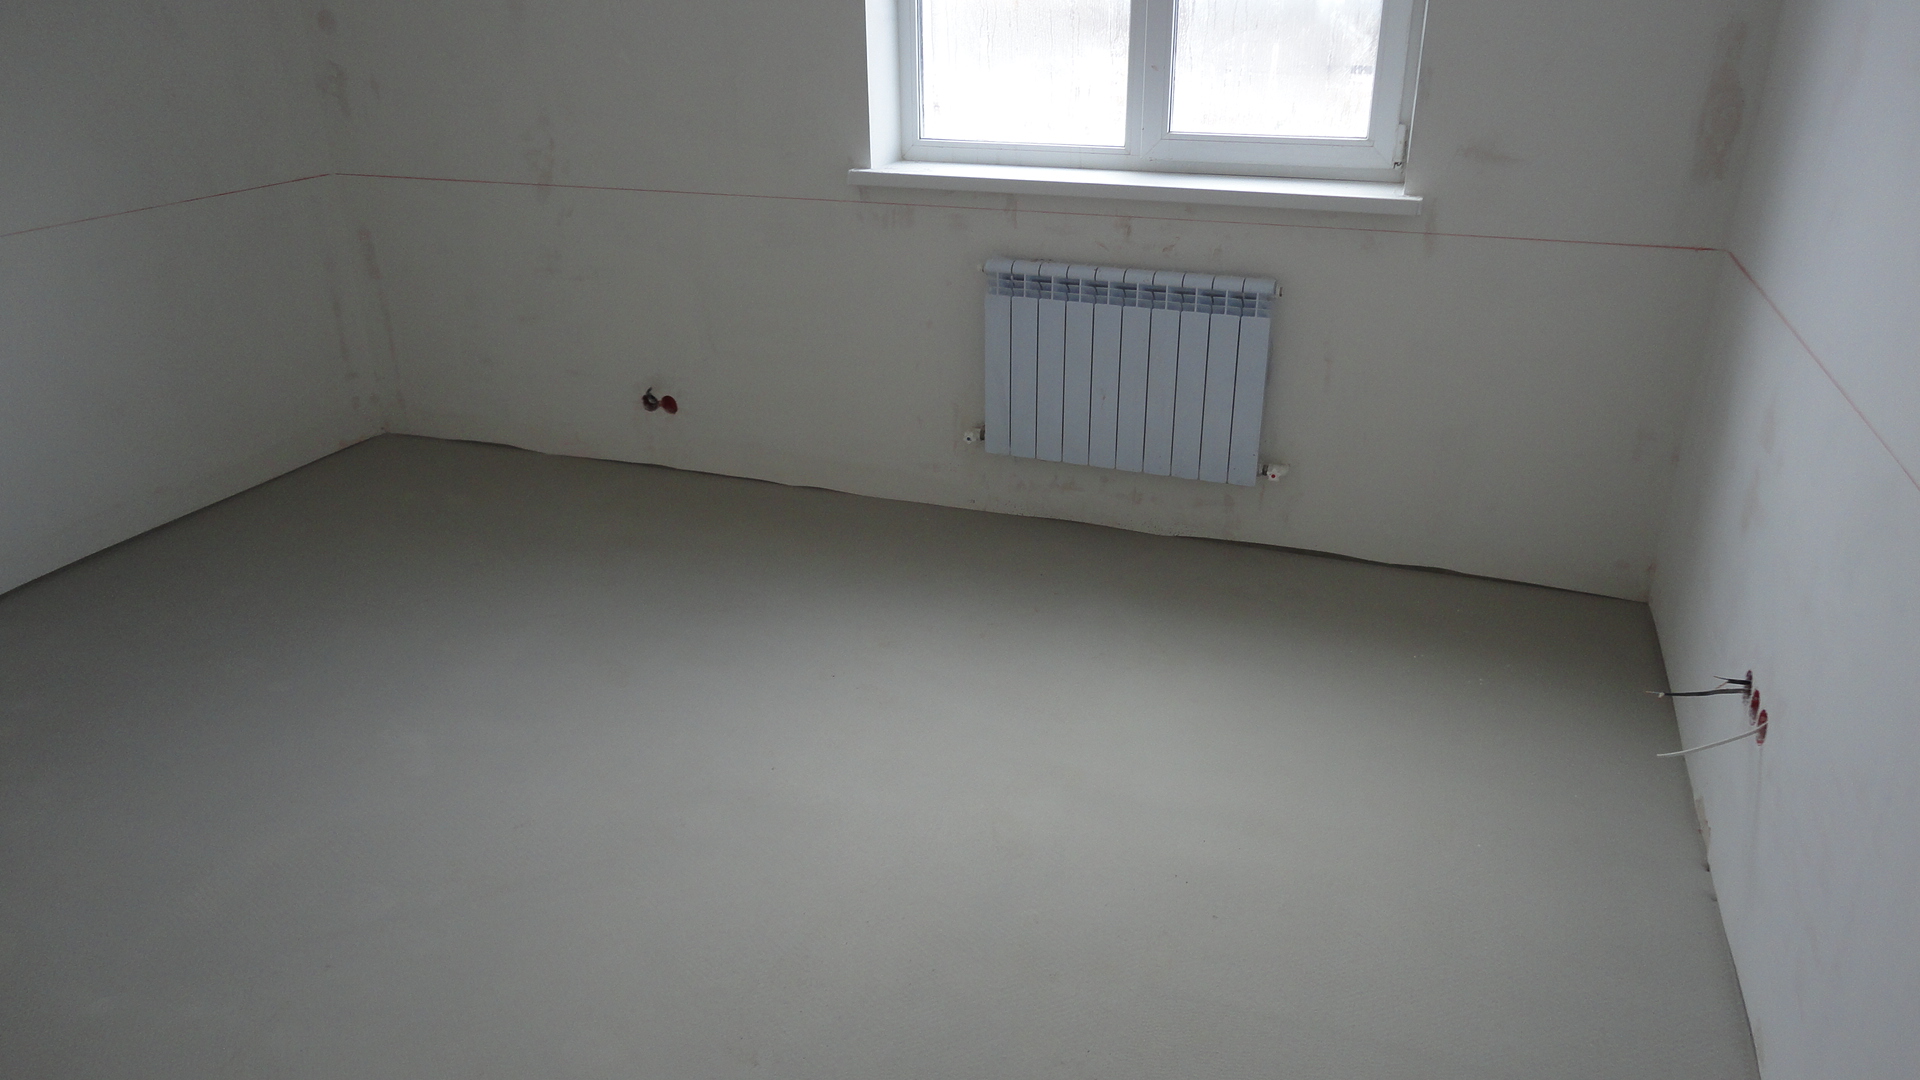
When all the plastering work is completed and communications are completed, the turn comes floor leveling. In order to subsequently flooring the living room was ideal, durable and practical, the alignment process must be approached with all responsibility. Most often for floor screed use liquid sand-cement mixture, this method is called wet, and it costs the least, although drying takes a relatively long time. Dry and semi-dry methods screed organizations are more technological, they are faster, but they will also cost more. If the floor in the living room is close to ideal, but still needs a little correction, it is best to use a bulk floor. By the way, if you plan to organize underfloor heating system in the living room, then you need to do this at this stage. It is better not to warm under furniture for reasons of economy and safety, which is why it is so important in advance determine the exact location of furniture.
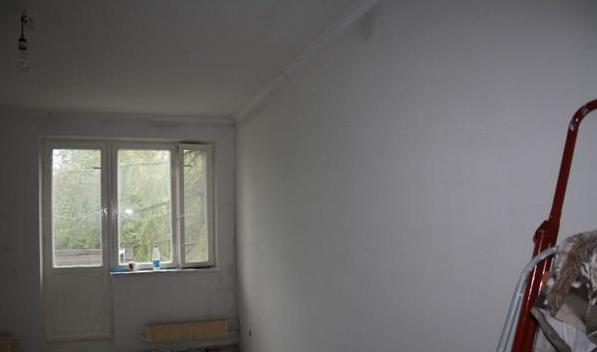
At this stage, work can be done replacement of window and door structures. If new elements are covered with a protective film, then it is better not to remove it until the end of all finishing work. If there is no such film, then it is better to protect windows and doors on their own with the help of plastic film and masking tape.
Stage number 4. Fine finish
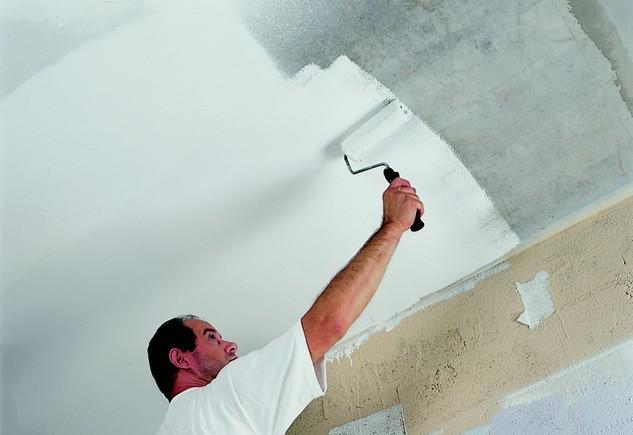
Start decorating from the ceiling. If the surface is already putty, sanded and primed, then you can proceed directly to the finish. If gypsum plasterboard sheets were used to level the surface of the ceiling, then the seams between them must be repaired so that the surface is completely flat and suitable for finishing.
Ceiling can to paint in any color to whiten, use decorative plaster for decoration. The easiest option is sticking polystyrene boardscan also be used wallpaper for ceiling.
If the design project provides use of multi-level suspended structuresuse rack ceiling or traction, then the installation is carried out after finishing the walls and floor, since a lot of dirt will not form.
As for wall decoration, then with your own hands you can easily cope with the installation of the absolute most coatings. Can be used wallpaper, and do not rush to call them a banal and boring option, because today's assortment allows you to create any mood in the living room and even visually correct some of the room's flaws, all thanks to a variety of colors and ornaments. Great for the living room fit eco-friendly and easy to stick non-woven wallpaper, textile will bring proper comfort cork wallpaper - One of the most natural options for wall decoration. Thanks metal wallpaper the living room can be given a modern luxurious look, and photo wallpaper work miracles: they not only set the atmosphere in the room, but also solve the problem of lack of space.
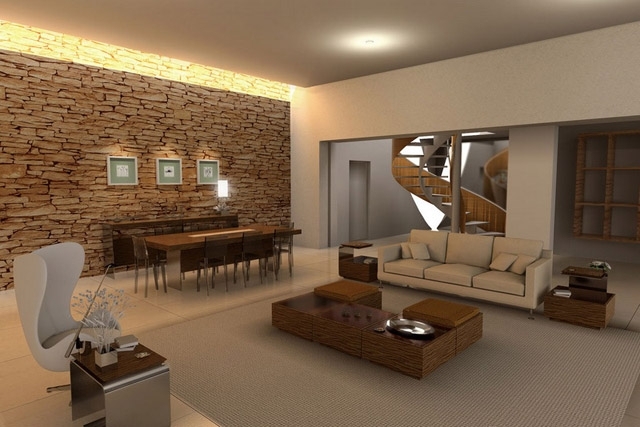
An all-time option for wall decoration in the living room - painting and decorative plaster. Such walls will become a wonderful neutral background for furniture and accessories, and with the help of an accent wall of a different color you can get an interesting interior solution. Part of the walls in the living room to finish decorative stonefor example, an area near a sofa, fireplace, TV or dining table. Alternatively, you can use the lining, MDF panels or laminate, and even more interesting appearance can be achieved through the use of soft wall panels ceramic tiles, mirror tiles, fabrics and other materials that most closely match the chosen style and preferences of the owners of the living room.
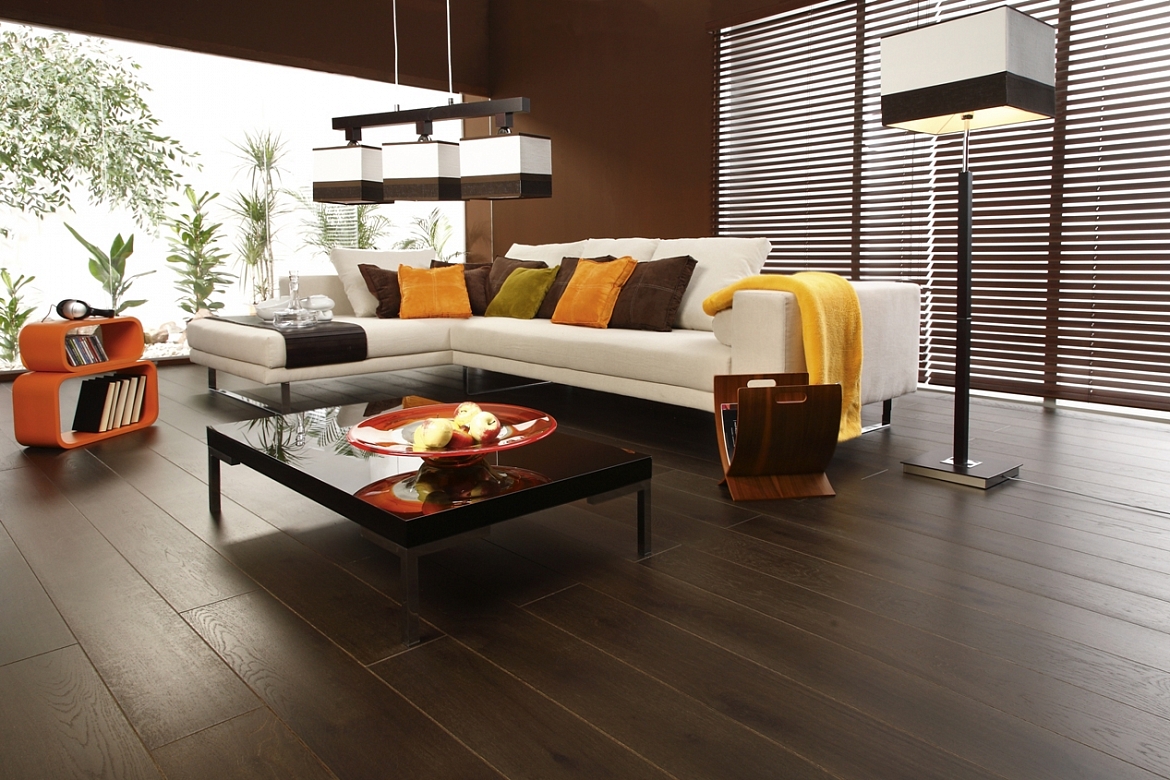
As for flooring, then it is important to find a balance between attractiveness and good performance, because there will often be guests, friends and family members. On the other hand, the flooring should be easy to clean, so for the living room you can recommend using laminate and linoleum.
Massive board and piece parquet - The materials are very expensive and capricious, but with proper care they will last a long time.
A compromise in price - parquet board.
Carpet It is not used often in living rooms, although if the room is intended mainly for family gatherings, then this is an excellent option.
To design a dining area in the living room, if one is provided, you can use stone or tile. The most modern solution for living rooms - bulk floorIt is durable, practical, wear-resistant, can imitate any material.
When the floor and ceiling coverings are installed, proceed to the installation of the floor and ceiling skirting boards. After that, you can proceed to completion of electrical work: install sockets, switches, lighting devices, mount the indoor unit of the air conditioner.
Stage number 5. Furniture and decor
After all the roughing and finishing work, the turn of the most interesting stage of repair comes - the arrangement of furniture and accessories. It is better to decide which furniture and where it will stand, at the stage of repair planning, so that later unfortunate surprises do not happen. Naturally, all pieces of furniture must match the size, color and style of the living room, harmonize with each other, be made of high-quality and safe materials.
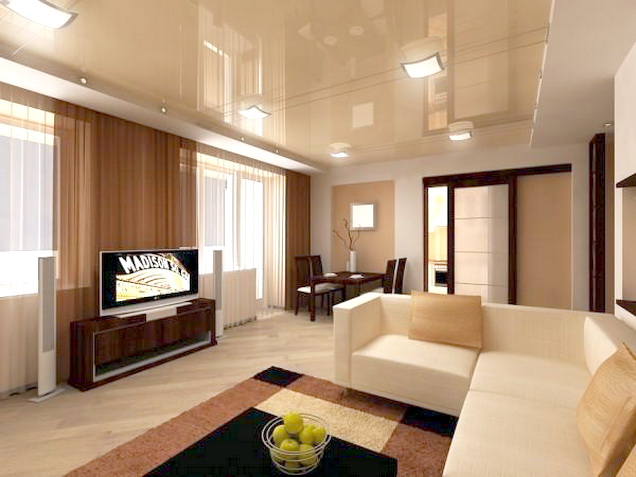
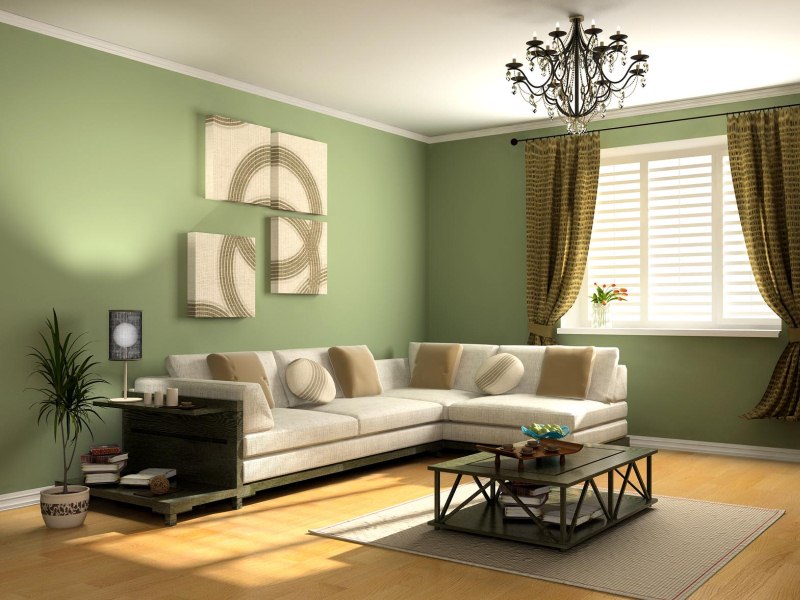
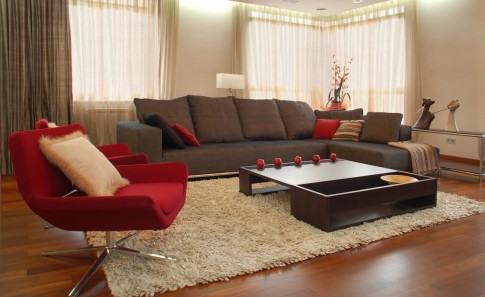
Among the mandatory pieces of furniture for the living room worth a sofa coffee table, wall or rack, TV stand. You can also provide several armchairs or pouffes, a chest of drawers, a desk, a dining table with chairs, etc. If the area allows, in the living room you can organize several functional areas, which can be distinguished just with the help of furniture.
Do not forget about accessories, which are sometimes able to add zest to the interior of the living room. In some cases, it is the decor that plays a paramount role in the perception of the space of the room: if furniture and decoration in neutral colors are used, then accessories and textiles help to breathe the mood into the living room. All lighting items, pillows, rugs, curtains, tablecloths, vases, paintings should be in harmony with each other and with the furniture in the living room. It is important in the desire to decorate the hall not to cross the boundaries of the rational, otherwise the space will be perceived as cluttered, and the look will not be able to focus on any one subject, and this as a result will make the room not very comfortable for a long stay.
In conclusion
When planning a repair in a living room, especially if it’s overhaul, it is important to imagine as clearly as possible and in detail what should result in it. The sequence of work and the final result depend on this, and a completed project will help to avoid many mistakes in choosing furniturelighting schemes, etc. By the way, it is important to soberly assess your capabilities and determine which work can be done independently and which is best left to professionals. Following the plan, the selection of high-quality materials for repairs and the conscientious execution of all work is the guarantee that overhaul of the living room will not be needed for a long time.

 Bedroom Repair Steps
 TOP 9 tips for repairing an apartment in a new building
 Hallway repair steps
 Bathroom Repair Steps
 8 tips for redecorating a kitchen and updating it
 Kitchen repair steps
 Where does the repair in the apartment begin?
") 8 tips for arranging furniture in the living room (room)
8 tips for arranging furniture in the living room (room) Stages of repairing a children's room
 What furniture to choose for the hall: 12 useful tips
Very easy to read article. A large number of images.
Thanks to the author.