8 tips for decorating window slopes inside and out
Did the long-awaited replacement of old windows with new ones happen? Now is the time for the final touch - slope clearance. Many make a big mistake, leaving the external slopes unfinished and thereby reducing the durability of the structure. Inside the slopes, as a rule, they are revetted on the basis of aesthetic considerations, but this is not always done correctly. It is time to put all the dots on the “i” in the issue of finishing the slopes of the windows inside and out. We understand what material will be preferable in a particular case.
No. 1. Finishing slopes: is it all about beauty?
Slope finishing is the final stage of installation new windows. During installation, the wall near the window opening may be damaged, and between the window and the wall is poured polyurethane foam - It turns out not very aesthetically pleasing. However, Facing window slopes is performed not only and not so much for the sake of beauty.
so, internal slopes are needed to:
- protect the window from high humidity;
- serve as protection against the effects of condensate, which is formed due to temperature differences inside the room and outside the window;
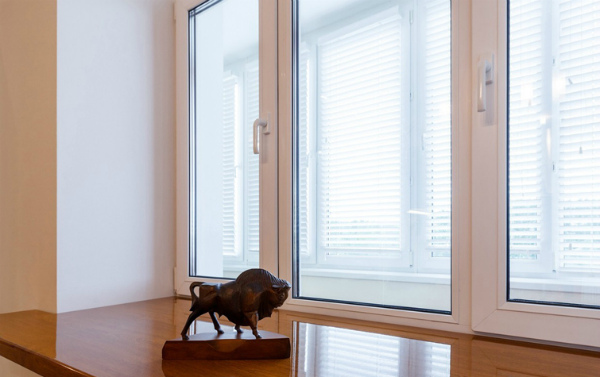
- perform a decorative role, organically fitting the window construction into room interior.

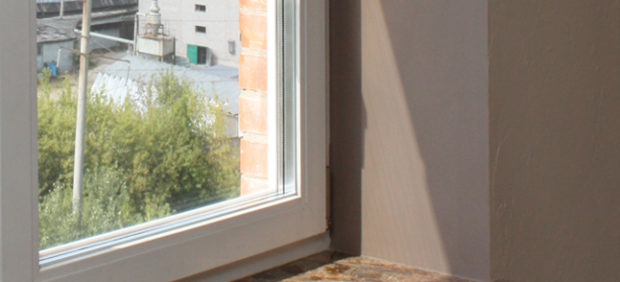
Much more important tasks are assigned to external slopes:
- protect the mounting foam from sunlight, precipitation, temperature extremes and other factors;
- polyurethane foam is an excellent heat and sound insulating material, but under the influence of sunlight it quickly collapses, so it is better to finish the slopes as soon as possible;
- open mounting foam has the ability to absorb moisture, which destroys the material during freezing and reduces its heat-insulating qualities. With an increase in the moisture level of the foam by 5%, its thermal insulation properties are reduced by half.
So many put off the question window slope finishes outside in a long drawer. Like, their eyes are not callous, which means there is no point in rushing and acting. When the desire finally comes, it turns out that the adhesion of the window and the window opening has deteriorated, and there is nothing to say about sound and heat insulation. The task is getting complicated.
Remember that timely and quality finished window slopes will help to avoid many problems. Such windows are not afraid of temperature changes, they protect well from external noise and cold / heat.
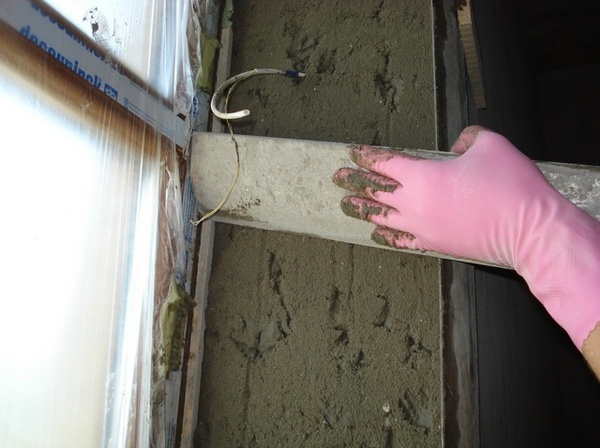
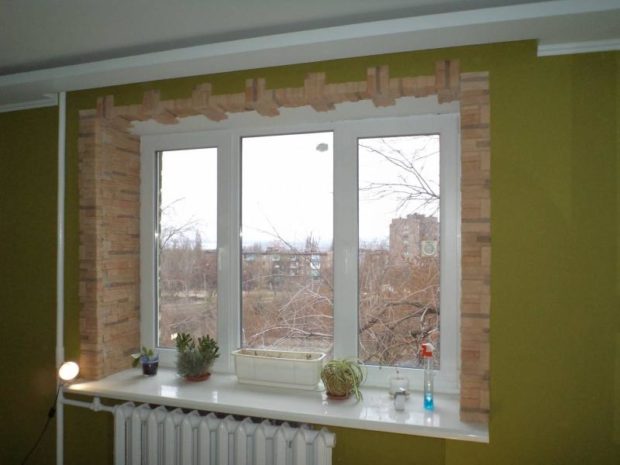
No. 2. Plastering and painting slopes
The easiest and cheapest way to make slopes - plaster them. Option fits for both indoor and outdoor work. Cement-based mixes are used, both cement and gypsum compositions are suitable for internal work. To finish the external slopes, it is recommended to take a special composition for facade work, and if it is “warm”, it will be generally cool.
The main advantages of the method include:
- low cost;
- the availability of all necessary tools;
- the ability to perform all work independently;
- the coating is durable and fire resistant.
Among the cons:
- the plaster layer should not exceed 2 cm, so that the method is suitable for more or less even slopes;
- high time costs;
- the exterior finish will get dirty quickly, it may crack, you will have to regularly update the coating.
The principle of plastering the slopes is as follows:
- surface preparation. If there is old plaster or whitewash, it must be removed. After this, notches can be applied to the concrete surface to improve adhesion. Remove excess foam, remove greasy stains, dust, treat the surface with an antiseptic;
- when working with an external slope set the tidefix it on self-tapping screws;
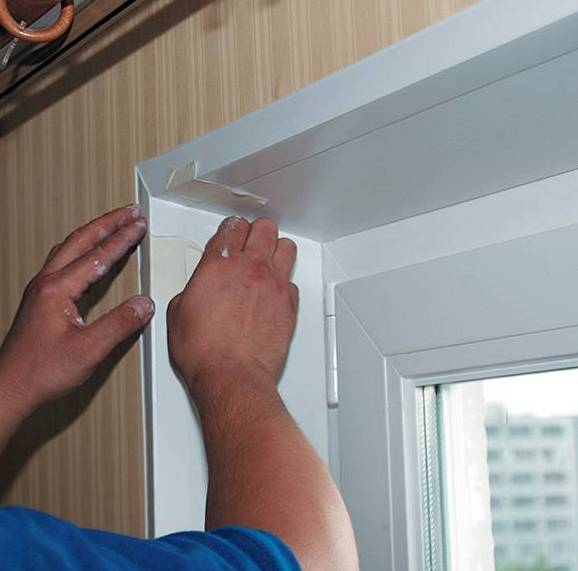
- double-glazed window and it’s better to cover the frames with plastic wrap to protect against contamination. You can fix the film using masking tape;
- primer surface, due to which adhesion is improved and shedding is prevented;
- the corners of the window opening are reinforced with a plastic or metal perforated corner. Fix it with a plaster mixture;
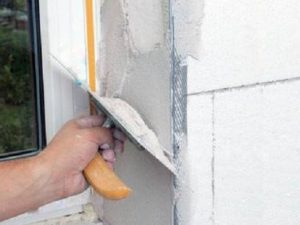
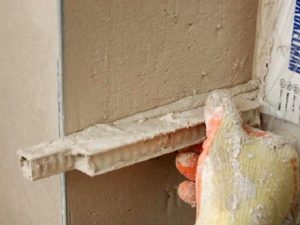
- You can make a special tool - a small one, which will correctly align the slopes and create a layer of plaster of the desired level (near the window the layer will be larger, and closer to the outer edge - less). For the manufacture of malki, a wooden board is suitable, at the end of which a cut is made so that when moving it there are no shifts and the plaster falls to the desired thickness;
- a layer of starting plaster is sprayed with a spatula, leveled with small or rule. On the upper horizontal part of the slope, the mixture is applied with a trowel or a spatula, alignment occurs with a wide spatula or small. It is difficult to level the upper slope, therefore it is better to apply several thin layers;
- to form a beautiful angle between the vertical and horizontal slope, use an angular spatula;
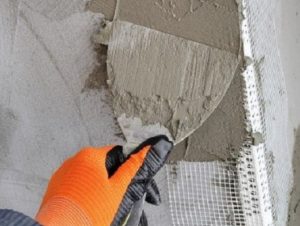
- when performing outdoor work, you can use a reinforcing mesh. It is pressed into the layer of plaster and will subsequently strengthen the slope;
- after starting plastering, you can use putty to level the surface, but many do without it. If it is used, then it is better to prime the surface from above;
- now it is possible to apply a finishing layer of plaster, if necessary, give it a certain relief, paint. Some spend puttyinggetting a beautiful even and smooth slope.
No. 3. Drywall slopes
Not much more expensive finish slopes drywall. It is used mainly for internal work, but some masters use it in outdoor works, hiding in the end under a layer of protective coating, for example, under plaster. Anyway, better take moisture resistant drywallwhich will not collapse under the influence of condensate. Sometimes for internal work they also use ordinary drywall, but it must be treated with several layers of primer or moisture-proofing compounds.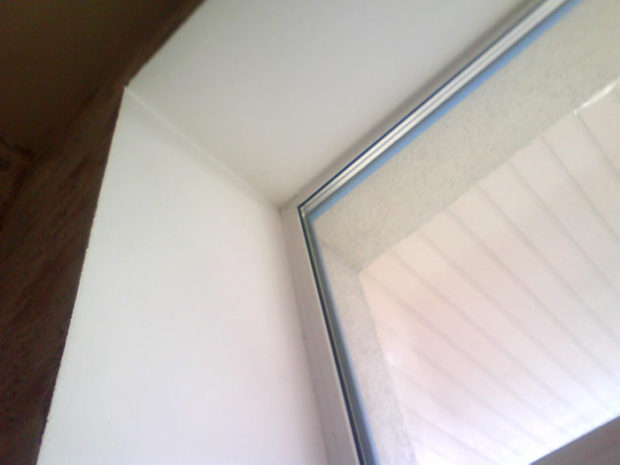
Benefits method:
- budgeting;
- the ability to quickly smooth out even the most difficult surface;
- light weight;
- relatively simple installation.
Minuses:
- drywall is afraid of moisture, so even for finishing slopes indoors it is better to take a moisture resistant option. For outdoor work it is generally better to consider other options;
- low strength, so more or less strong impact can violate the integrity of the material;
- over time, spots will appear on the surface, you will have to perform a small repair.
There are several drywall mounting options:
- on a wooden or metal crate, if the wall with the window will also be finished with drywall;
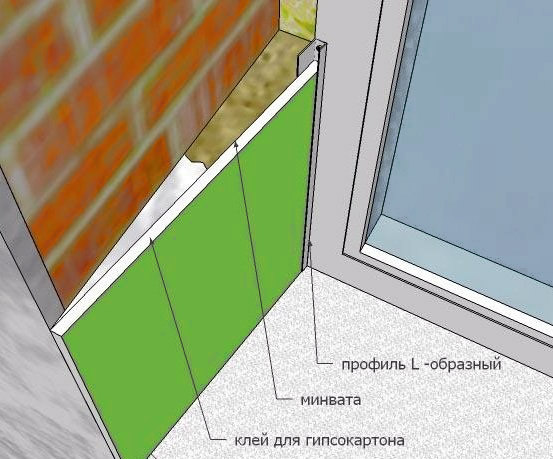
- fixing on an L-shaped corner (fixed to the outer line of the frame) with fastening the sheet at a slight angle. The space between the drywall and the slope is filled with insulation;
- GKL fixing directly to the slope using mounting foam, putties or glue. The option is possible with sufficient evenness of the slope.

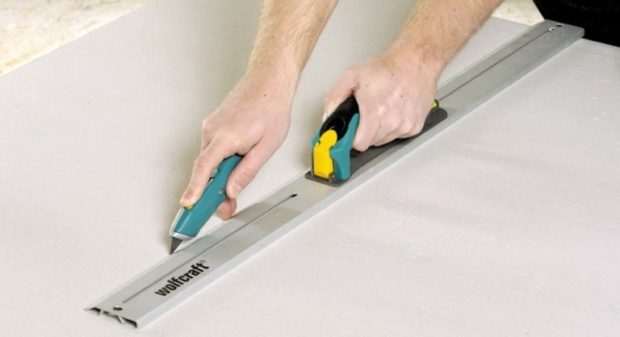
Before starting work, remove the old finish, clean the slopes, treat with a primer, significant damage can be filled with a plaster composition. It is also advisable to apply a moisture resistant or antiseptic composition to the base surface. After that, the necessary measurements are carried out, in accordance with them sheets of drywall are cut.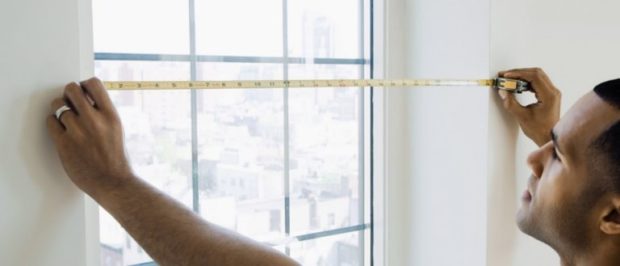
Most often today they choose method with L-shaped profile. It allows you to additionally insulate the window and easily cope with quite significant irregularities:
- the profile is screwed along the edge to the frame, GKL will be inserted into it;
- the profile is filled with acrylic sealant, then insert the prepared GKL segment;
- the gap between the slope and GCR fill mineral wool;
- the outer edge of the GCR is fixed to the slope with glue;
- press drywall using level.

To strengthen the corners, you can use special corners.
If the slopes are even, you can glue the prepared GKL segments directly on them. It is fast and relatively easy. When mounting on a frame, you can use insulation.
When everything is ready, putty is applied in several layers, the last layer is wiped, achieving the most even and smooth surface. Now it remains only to paint the slopes acrylic paint any shade. If you decide to arrange external slopes in this way, you will also have to apply plaster with a reinforcing mesh, and then the finish layer plasters.
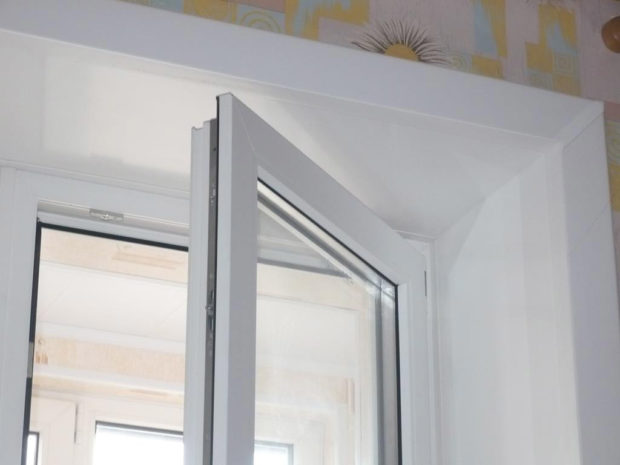
Number 4. Plastic slopes, or PVC panels
Plastic panels allow you to complete slopes in just one day. No need to wait until the plaster or paint dries. The main advantages, in addition to the high speed of work, include:
- durability;
- hygiene. Plastic is easy to clean, mold does not develop on it;
- if the window frames are also plastic, then when the temperature changes, uniform expansion will occur, excessive stress will not be created, which means that the slopes will last longer;
- aesthetic appearance.
By plastic panels we mean wall panels, which between the outer and inner layers of plastic have a void and stiffeners. The thickness of the panels is about 1 cm, the width is 25-37.5 cm, the length is from 2.7 to 3 m. Such panels are softer than those that are equipped with an additional insulating layer (sandwich panels, more about them later), so attach them to the slopes Depth greater than 25 cm is not recommended - damage may occur. Under such panels, it is recommended to use mineral wool or polyurethane foam as insulation. Joints necessarily cover with a decorative corner.
Most plastic panels are made in white. There are matte and glossy options. Matte products look nobler and calmer, and do not glare in the sun. You can find panels painted in other colors, as well as made under the tree. Such options are appropriate if your frame is non-standard, i.e. not white.
The procedure for installing PVC panels is as follows:
- surface preparation, removal of excess foam, cleaning from dust and dirt;
- priming slopes with an antiseptic. When the surface dries, you can proceed to the next steps;
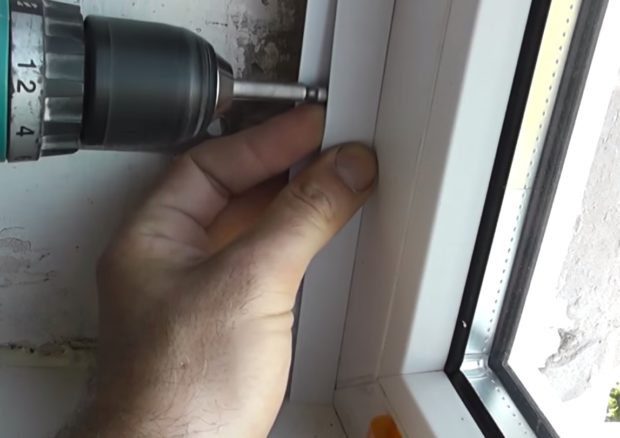
- installation of the L-profile around the perimeter of the frame, the profile is attached screws with a step of 20-25 cm;
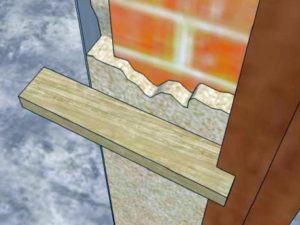
- on the outer edge of the slope is attached a wooden rail 10-12 cm wide and 10-12 mm thick. Subsequently, a part of the special profile will be worn on a wooden rail, the second part will be mounted on a panel, and subsequently the two parts will be closed using a spike-groove system. The joint of the panel and the slope can be closed with a corner mounted on self-tapping screws, but then their hats will be visible. Another option is mounting on liquid nails;
- preparation of panels of the required size;
- to the wall with liquid nails mineral wool is attached, and the thickness of its layer near the frame will be maximum, and near the outer edge of the slope - minimum. Instead of mineral wool, mounting foam is often used, which is immediately applied to the panel before mounting the panel, but this is a way for professionals, since it is very difficult to calculate the required amount of foam. Excess can disturb the geometry of the panel, and the remaining foam is almost impossible to remove from the panel;
- in the angle between the lateral and upper slope on the liquid nails, a profile called the "inner corner" is fixed;
- the side slopes snap into the L ‑ profile; the profile can be attached to the wooden battens with a stapler. Some experts even attach plastic panels to the cleaned surface of the slope on liquid nails;
- installation of the top panel in the grooves of the profiles "inner corner";
- fixing a decorative corner;
- Now you can remove the protective film.
It is better not to trim the external slopes with plastic panels, since this material becomes too fragile at low temperatures, and in domestic conditions this means that everything will have to be redone next season.
No. 5. Sandwich panels in the design of a window slope
A sandwich panel is a more advanced version of a regular plastic panel. Between the sheets of plastic there is a layer of extruded or foamed polystyrene, which gives the plate additional strength and improved heat and sound insulation qualities. The thickness of such panels ranges from 8 to 36 mm, but for window slopes, panels with a thickness of 10 mm are best suited.
All the benefits sandwich panels same as plastic panels. An additional bonus is high-quality insulation, so that during installation you can do without mineral wool. Minus - with increased humidity, the panels can delaminate, so they are obviously not suitable for external decoration.
The installation process is carried out according to the same scheme as in the case with conventional plastic panels. Some mount directly to the slope using liquid nails.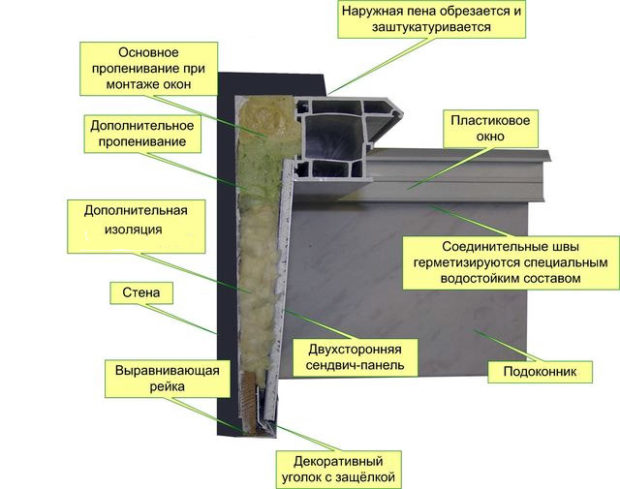
No. 6. Decorative stone finish
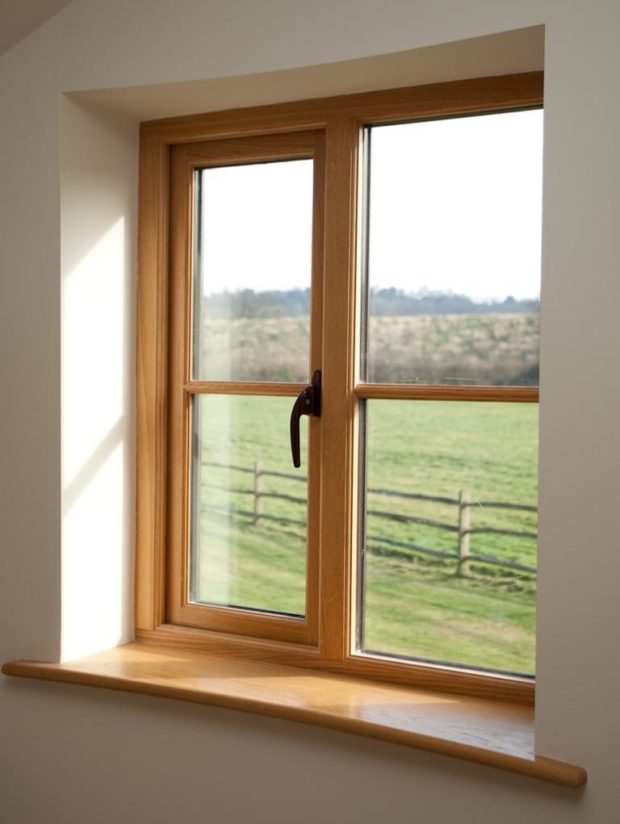
Natural stone is, of course, beautiful and durable, but very expensive and hard. Not every slope is able to withstand such a load, so it is better to use as a finish decorative rock. It is made on the basis of cement and gypsum. The result is strong samples that look no different from natural stone, withstand high humidity, temperature extremes and other negative factors. Decorative stone can be used for both internal and external slopes. It looks especially profitable with wooden frames.
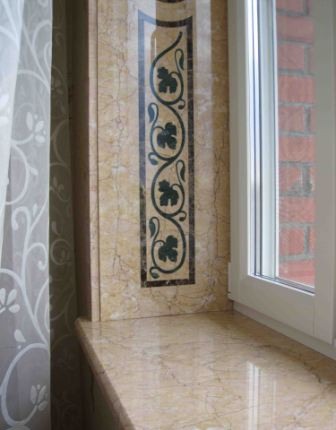
The advantages of decorative stone should also include a chic appearance and a huge variety. Slopes can be finished under a brick, and under slate, and under rubble stone.
Decoration with decorative stone is very simple:
- if the surface of the slopes is relatively flat, without serious defects, then it can even not be prepared especially. Just make serifs so that traction with a smooth surface is better, and then ground the surface;
- if there are significant defects, it is better to plaster the slopes first. When using heavy stone, at this stage apply a reinforcing mesh;
- the stone is mounted on a special glue, it is prepared according to the instructions. If the stone has an arbitrary shape, then it is advisable to lay it out on a horizontal surface in advance, so that later there will be no problems with joining;
- glue is applied with a spatula or comb, it is better to start from above, control evenness with level. If the seams are not provided, then the installation is carried out end-to-end. If seams are necessary, then use crosses, as for tiles;
- it is better to cut a stone on the basis of gypsum with a hacksaw, and on the basis of cement with a circular slab;
- when the glue has dried, you can remove the auxiliary elements, prepare and apply grout;
- if desired, a protective agent can be applied to the stone to extend its service life.
Number 7. Finishing slopes with metal
Metal slopes are used only for exterior decoration; they began to be used in Soviet times. This is one of the most successful ways to protect the slopes from the outside. Among the main advantages we note:
- resistance to moisture, temperature changes, microorganisms, sun rays;
- metal does not crack, like plaster, does not need regular updating of a covering;
- metal perfectly tolerates low temperatures, unlike plastic;
- metal with a polymer opening has tremendous durability, does not rust, retains its shape and color, protects windows from blowing;
- the color of the metal can be any, so that the finish can be successfully combined with any facade material;
The main minus is only the high cost, but every year you will not whiten, tint slopes or repair cracks in the plaster. It is best to install such slopes immediately after the installation of the window is completed.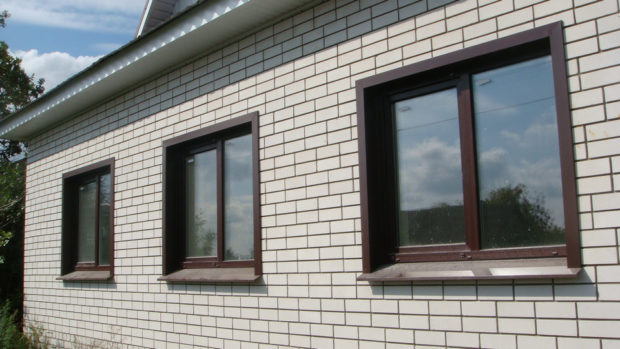
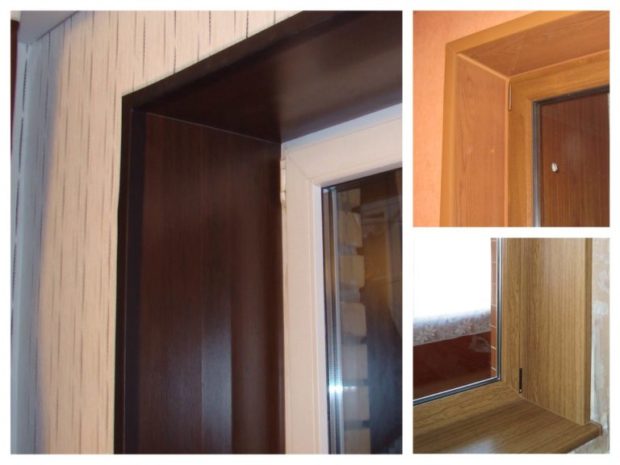
Number 8. Other materials for finishing slopes
Also for finishing internal slopes can be used:
- wooden panelsthat look great along with wooden windows. Such slopes look chic, but require regular care, as they are afraid of temperature extremes and humidity from condensate, which is not uncommon for this zone;
- wallpaper glued to a smooth plastered surface, used in cases where the walls are also finished with wallpaper. The option is not bad, cheap, and it is better to cover the inner and outer corners with a decorative corner. Wallpaper may fade on the sunny side, so choose lighter and more solid colors, or use a similar finish on the north side;
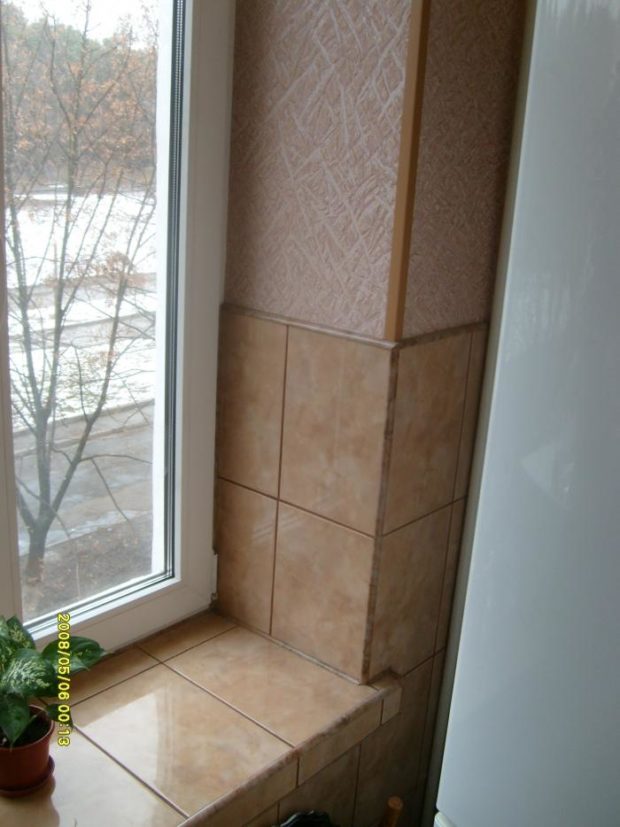
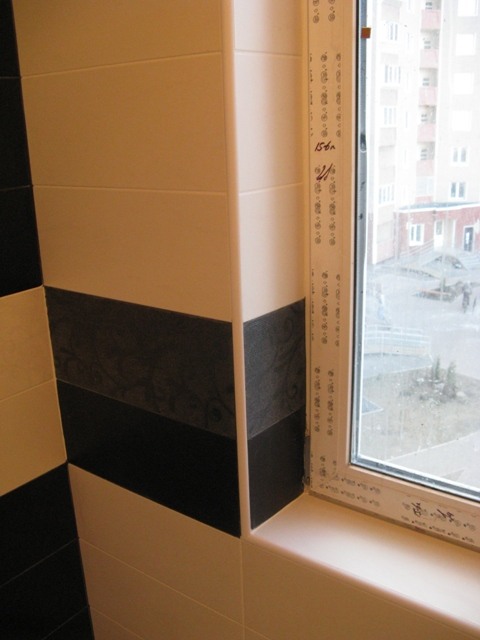
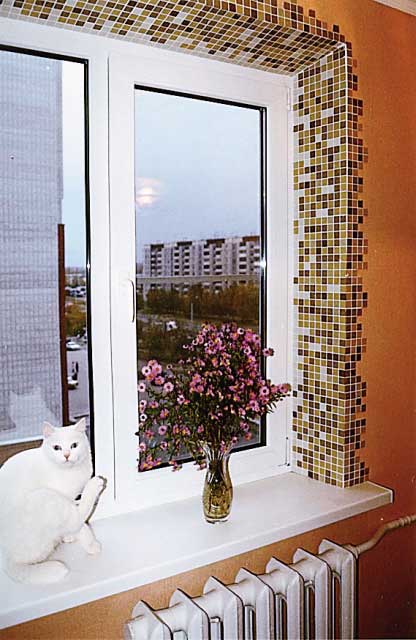
- ceramic tile used generally in the kitchens and in bathrooms, allows you to create a harmonious surface. The tile tolerates temperature differences, humidity, exposure to sunlight, but difficulties can arise in fitting - many elements will have to be cut. In this regard, it shows itself much better mosaic.
Do not forget that the slopes should be in harmony not only with the walls and frame, but also with windowsill.

 7 tips for choosing slopes for plastic windows
 8 tips on which windowsill to choose
 Ebbs for plastic windows: selection and installation
 7 tips for insulating plastic windows with your own hands
 11 accessories for plastic windows
 7 tips for which foam to choose
 12 tips for warming wooden windows with your own hands
 7 tips for choosing warm plaster for the facade and ...
 Coloring heating radiators: choice of paint ...
 plate") 5 tips to stick wallpaper on the OSB (OSB) plate
5 tips to stick wallpaper on the OSB (OSB) plate